Dear readers,
I’m back with the third tutorial for the Helena wrap dress: the optional in-seam pockets. The pattern includes both the option of patch or in-seam pockets, and while researching the finishings of this dress, I came upon a construction more suitable for french seams. This is the same construction I used for the Milton Pinafore, the free pattern I just released in collaboration with Peppermint Magazine. In the previous tutorial for the Helena Wrap Dress, I covered the neckband construction and the bodice to waistband assembly. This time we are going to go over steps 18a to 18e.
With this method, we will attach the whole pocket bag to the front skirt instead of one side to the front skirt and one to the back skirt. The front skirt and pocket bag can then be treated as one piece, facilitating french seams or pressing your seams open if that is your preference.
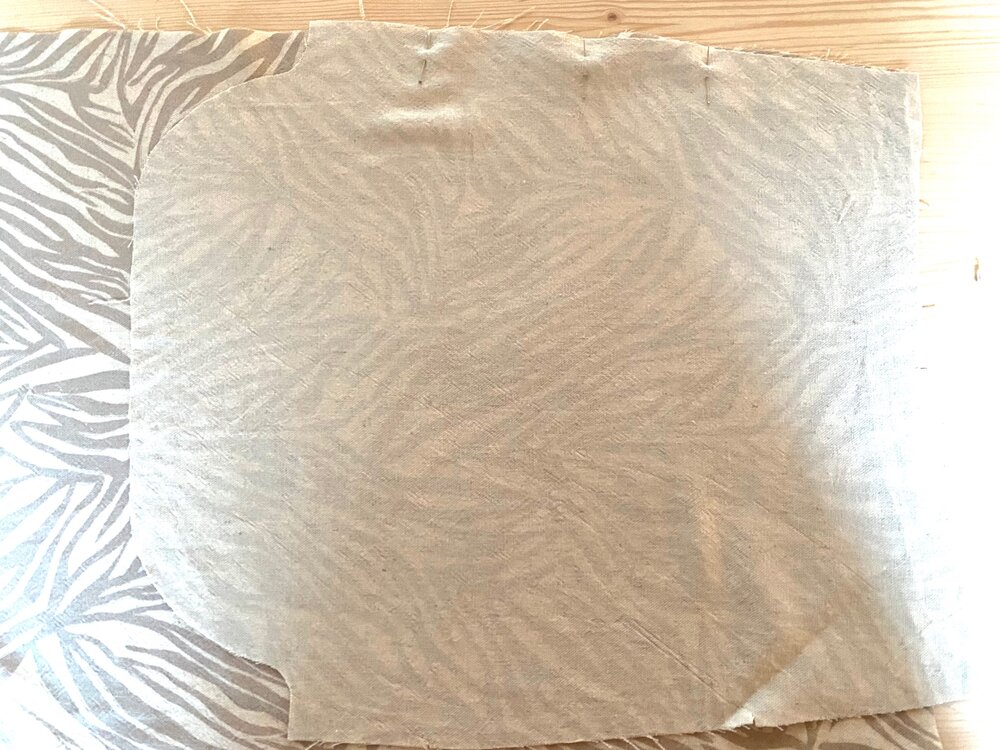
Start by laying a pocket bag on a front skirt, right sides together and aligning the side seams. Next, stitch between the notches with 1/2” / 1.2cm seam allowances.
Snip into the seam allowances until just before the stitching.

Fold the pocket away from the front skirt and understitch between notches, i.e. stitch next to seam catching the pocket and the seam allowances.
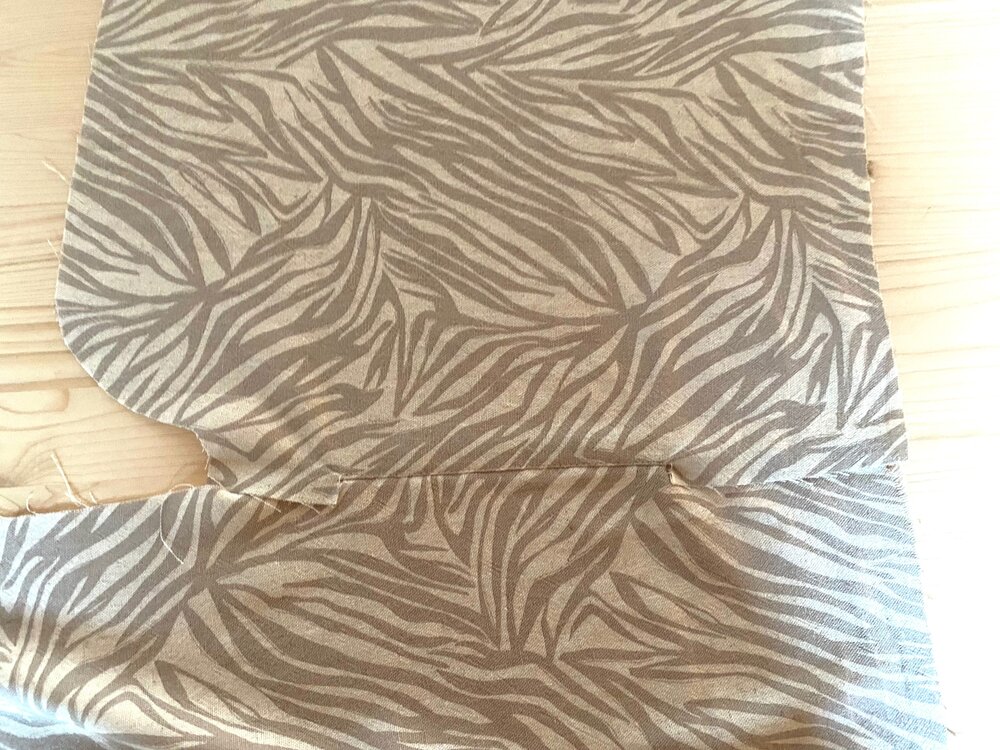
Fold the pocket under the front skirt and press the pocket opening.

Fold the pocket bag wrong sides together following the fold line in the middle of the bag and close the bottom with 1/4” / 0.6cm seam allowances.

Grade seam allowances and turn out the pocket, so the right sides are together. Press.
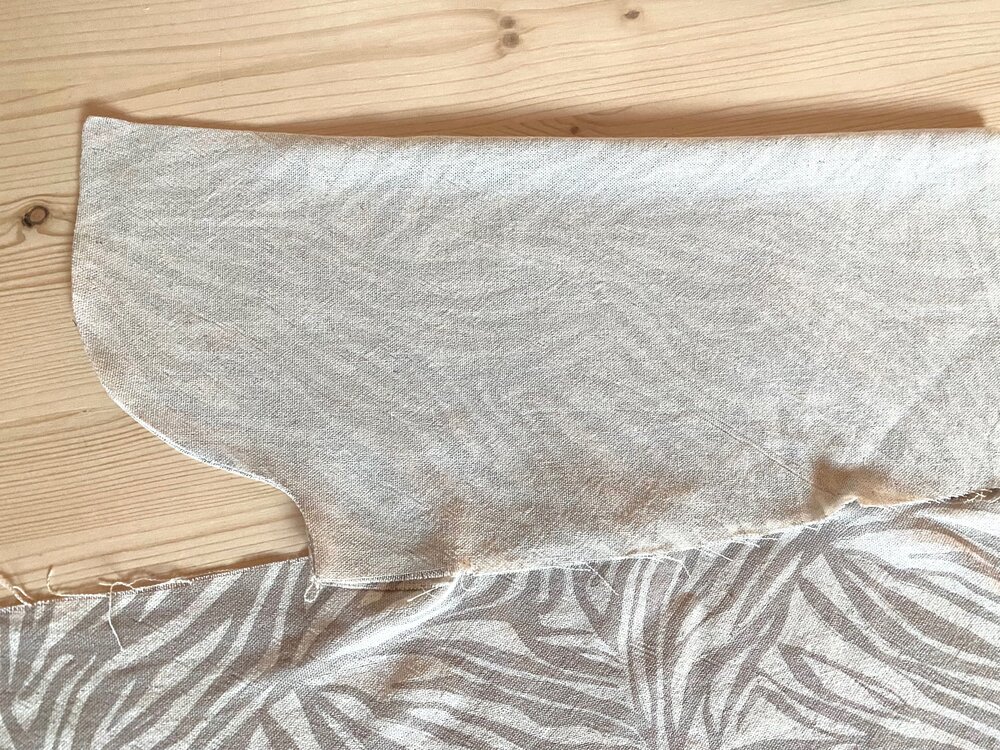
Stitch the bottom of the pocket bag again with 1/4” / 0.6cm seam allowances to finish your french seams.

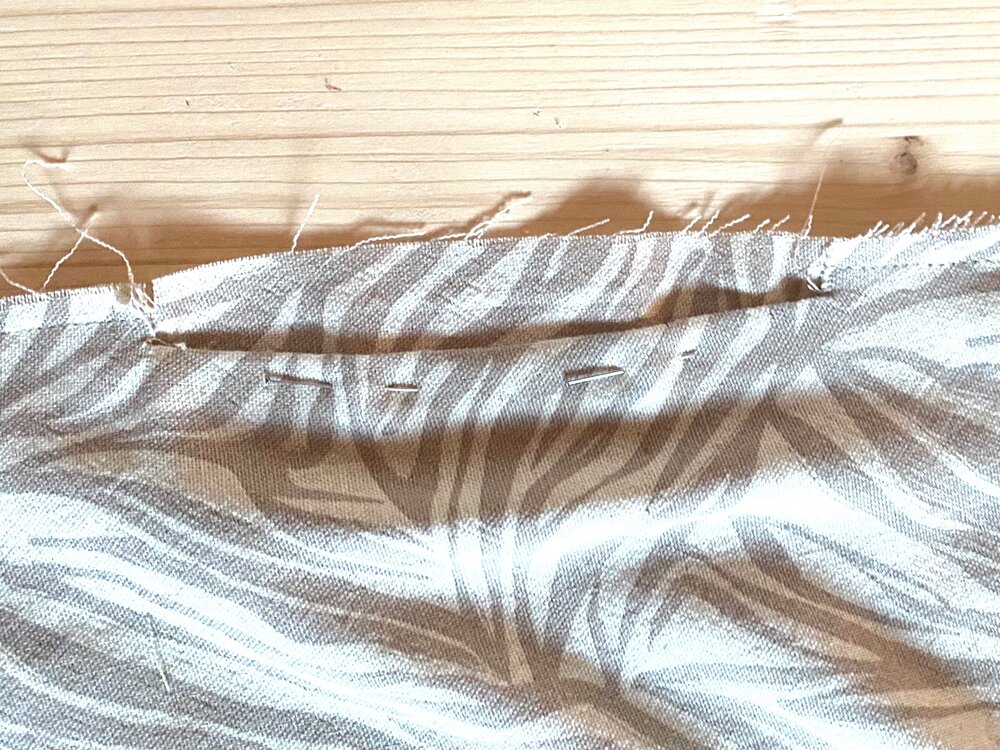
Baste the pocket in place above and below the pocket opening.
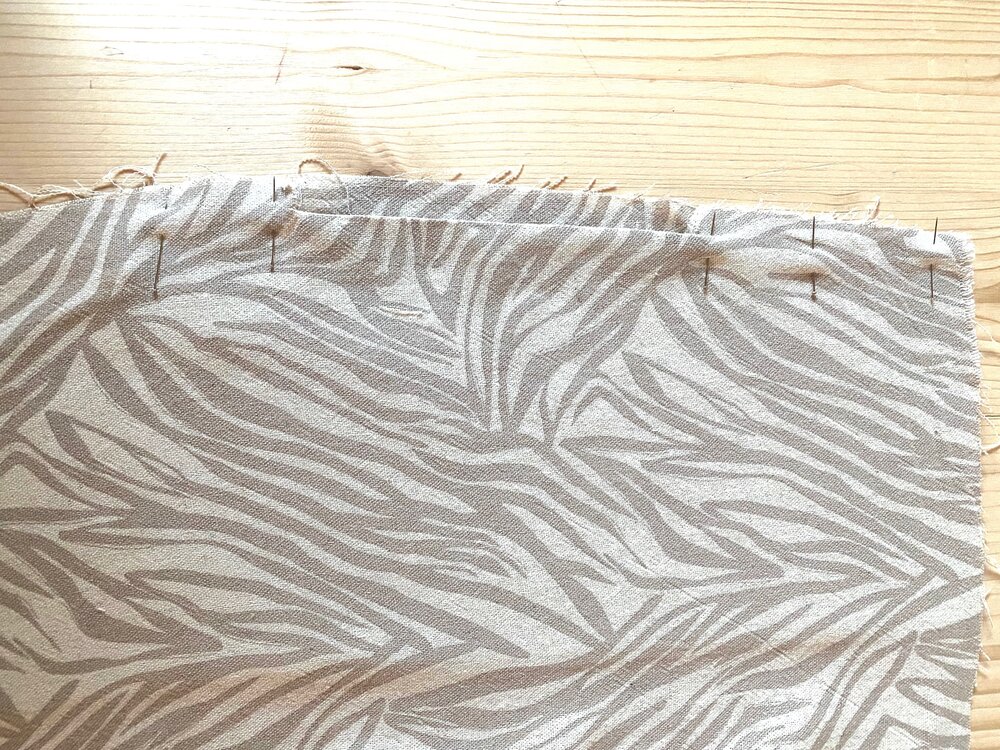
Because the skirt is gathered and I do not like to gather the pocket bag, I suggest not to baste it to the top of the skirt. And finally, to avoid accidentally stitching the pocket closed when sewing the side seams, I like to pin the opening a little bit away from its normal position.
In case you didn’t know this way of doing french seams already, you found it interesting and you will be inspired to try it in a future project! If you are following along, you can resume sewing with the instructions at step 19. My last tutorial will walk you through steps 20 to 24 to attach the skirt and finish the waistband. You can also check the Helena Wrap Dress resource page, where I curate a list of helpful tutorials to help you sew your dress.
Happy sewing,
Delphine
2 comments
Hi I love my Pattern thank you seem to be struggling with bodice is it a dart or do you cut the v out between bodice and collar please and thank you
Should the pocket opening- the space between the pocket and front skirt seam and the edge of the original edge skirt equal the seam allowance?