Dear readers,
Life has been hectic the past two months, and I have been unable to do all the tutorials I planned for the Helena Wrap Dress and the Tatjana Trousers. But the material is here, so I hope that I will manage to go through it and post it little by little. The launch of the Helena Wrap Dress has been a considerable success by Just Patterns’ standards, but the consequence is that I have received many questions about the construction that can appear unusual at first. So starting today, Helena will be my priority for the upcoming tutorials. I hope you find them helpful, and please comment or get in touch if you have questions!
I’m planning three tutorials for Helena: the neckband, the already infamous waistband and the in-seam pockets. Today, we are starting with the shoulder/neckband construction, which is a key feature of this pattern. It corresponds to step 2 to 7 in the instructions.
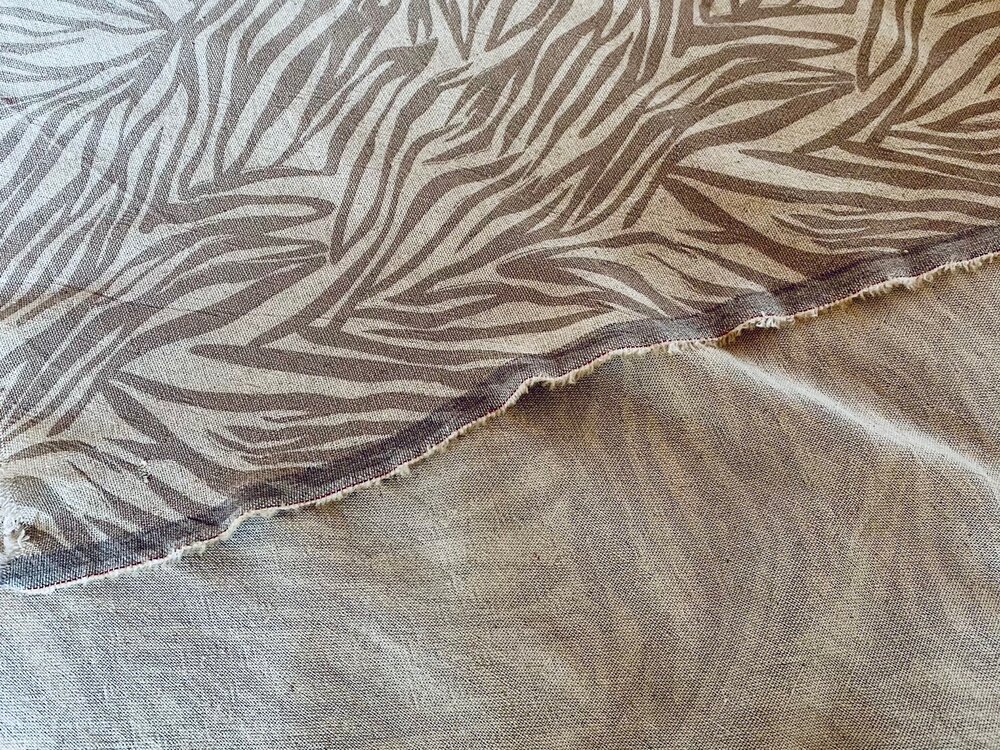
Let’s get started! The fabric I’m using has an obvious right and wrong side. It’s a relatively lightweight linen/viscose blend, and I am sewing the dress in size 50 for my mom, who prefers lighter fabrics with a lot of drape (my samples are more structured). Unfortunately for me, it means that the fabric tends to shift more, and it also frays quite a bit!
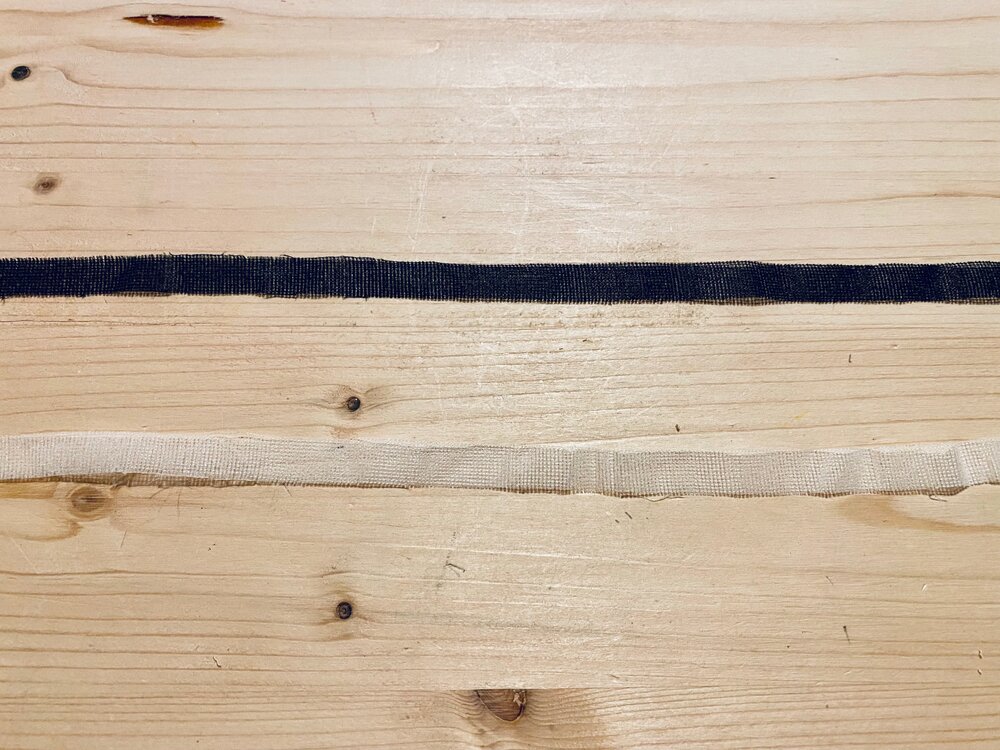
First, I wanted to make a quick note on the bodice interfacing. The neckband is fully interfaced with fusible interfacing for structure. Pattern piece #11 for the 34-46 size range, #22 for the 46-60 size range is the piece that should be cut twice in interfacing only (as written on the piece itself and in the cutters’ must page 5/6). The back neckband is fused to avoid distortions with fusible tape. If you don’t have pre-made tape, you can also cut your own. I like a 3/8” / 1cm width on the bias if the area is very curved or on straight grain if not (here, straight grain is fine).
Because the seam allowance of the neckline is only 1/4” / 0.6 cm, the fusible is likely to be visible. I usually do not mind, but in case that bothers you or the contrast with your fabric is too strong, you can :
cut your fusible tape narrower;
stay stitch instead of using fusible tape (I have unpopular opinions against stay-stitching, but that’s a story for another day);
skip the stabilizing entirely if your fabric has little chance of stretching out and you handle it carefully.

In general, when I fuse pattern pieces, I take the opportunity to do at the same time any pre-pressing required, which is why you see already the bodice front pressed as per step 4.

Next, overlock (or zig zag) the edges of the shoulder seams on the front bodice and back bodice pieces. On the front bodice, stop your overlocking at the corner.
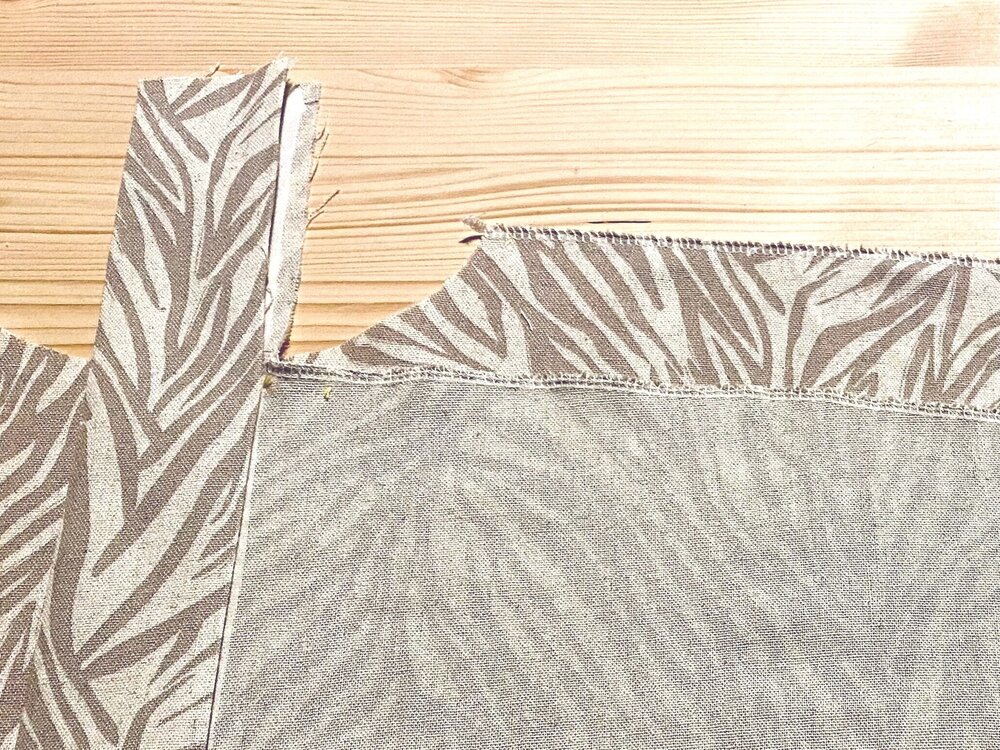
Stitch the front bodice dart. Begin stitching the dart exactly at the circle marks (I like to mark mine with cotton thread) close to the shoulder/neckband corners (i.e. not at raw edge of the fabric). Press the dart towards neckband. Repeat for the other side.
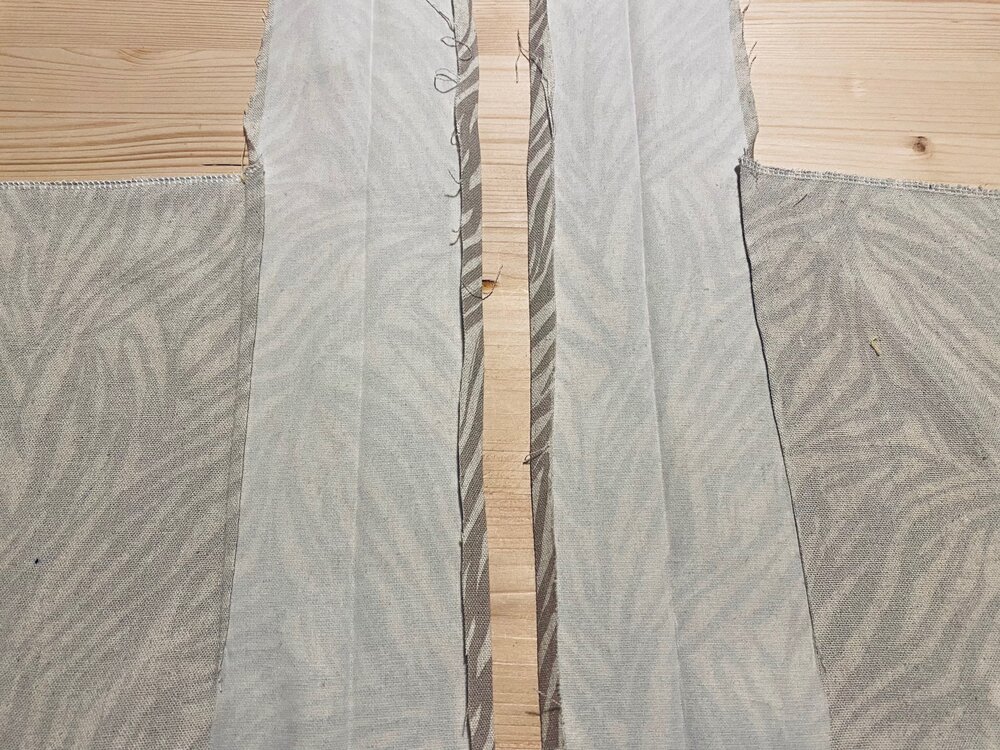
Since you already pre-pressed the neckband section of the front bodices, you can joint them by stitching the short ends of the neckband together at the centre back with 3/8" / 1cm seam allowances. Press the seam open and press your neck band folds again.

Now, it’s time to stitch front bodice to the back! I’m usually not much of a pinner, but here I suggest not to be shy with pins. I prefer to do this step with the front bodice on top of the back, right sides together. First, I pin the shoulders from the edge to the corner. The beginning of the front darts needs to align perfectly with the circle mark of the back bodice.
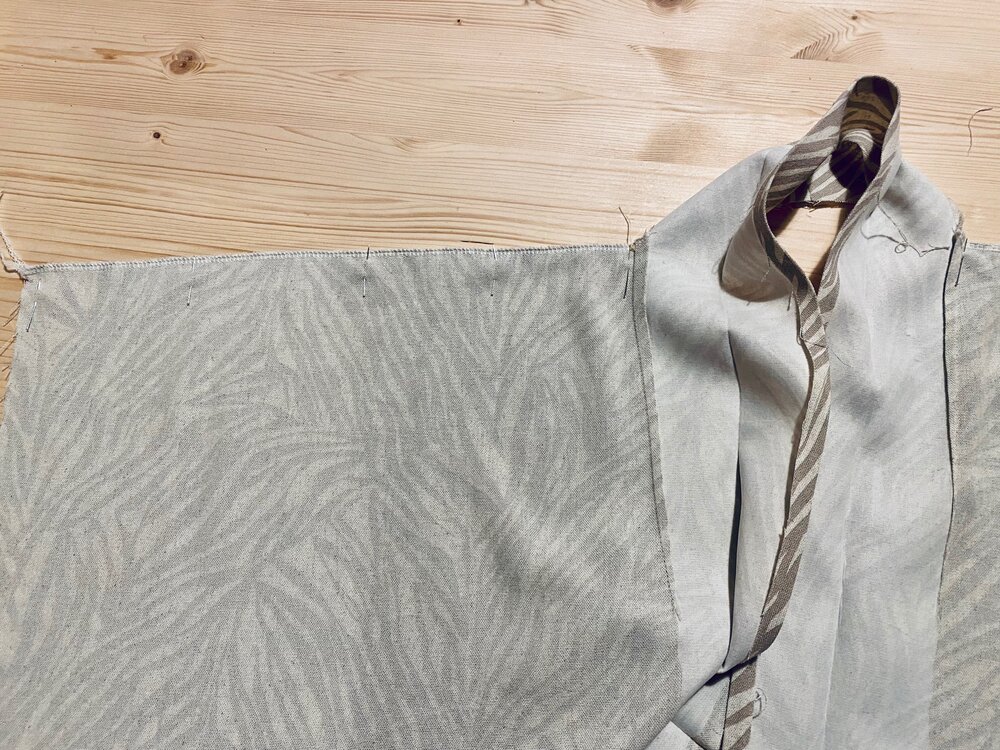
For the back neckline section, I only pin the neckband to the center back and I adjust the rest as I sew.
Starting at the armhole, stitch shoulder seam towards neckline with 3/8" / 1cm seam allowances. Stop exactly at the beginning of the dart, leave the needle down, raise the presser foot. Pivot and move the front bodice fabric slightly, ensuring that the fabric lays flat and that the dart is caught pressed towards center front.
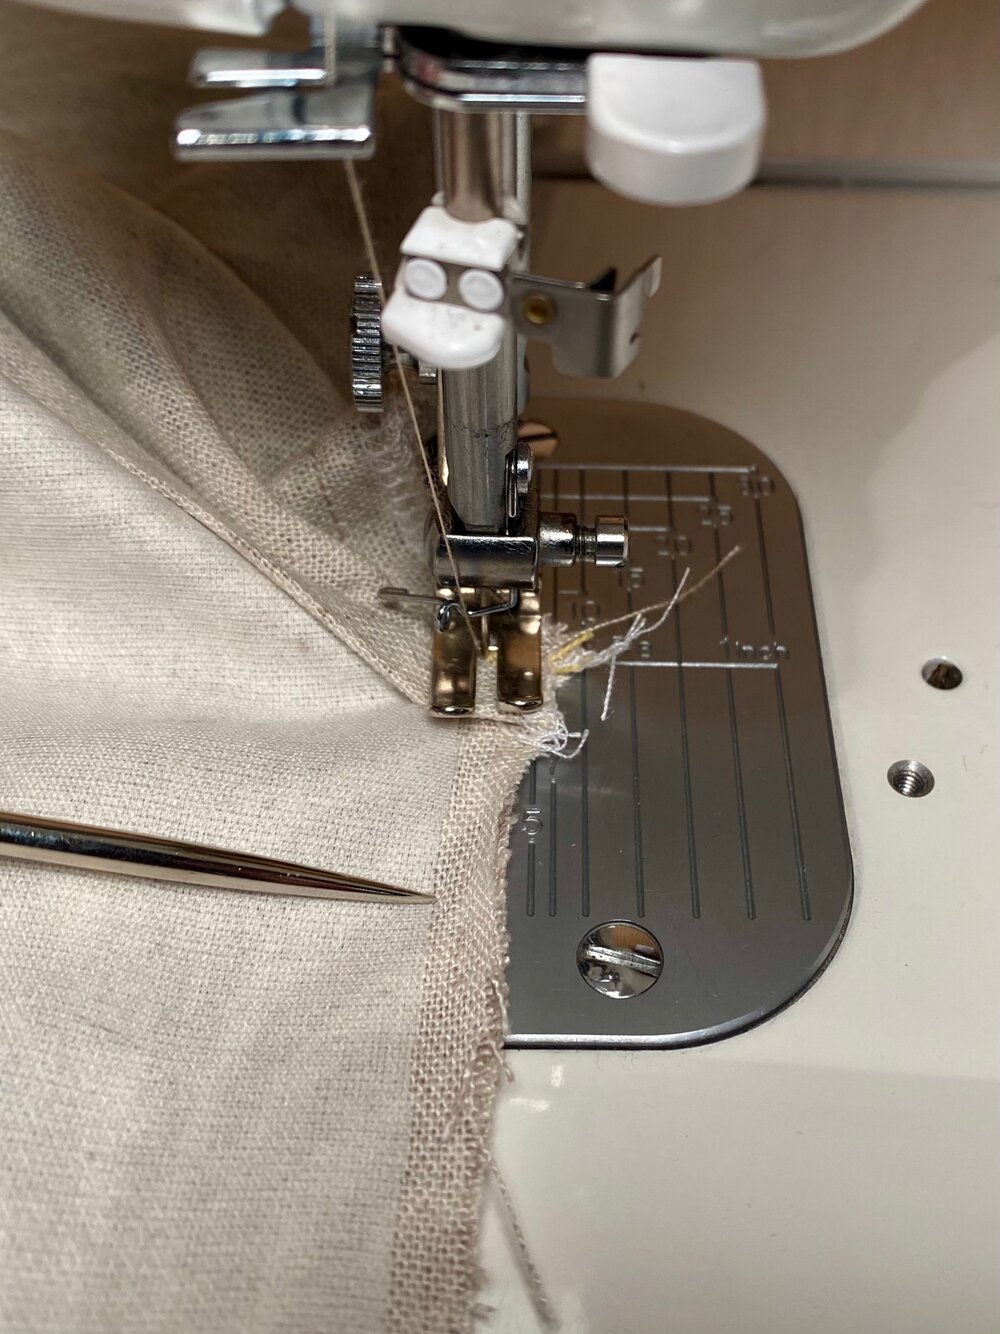
Stitch the neckband to the back bodice neckline with ¼” / 0.6cm seam allowances. When you reach the beginning of the other dart, ensure that it is caught pressed towards center front. Stop exactly at the beginning of the dart, the leave needle down, raise the presser foot. Pivot and move the front bodice fabric slightly, ensuring that the fabric lays flat (this side is a little trickier for me usually). Continue stitching the second shoulder seam towards the armhole with 3/8" / 1cm seam allowances.
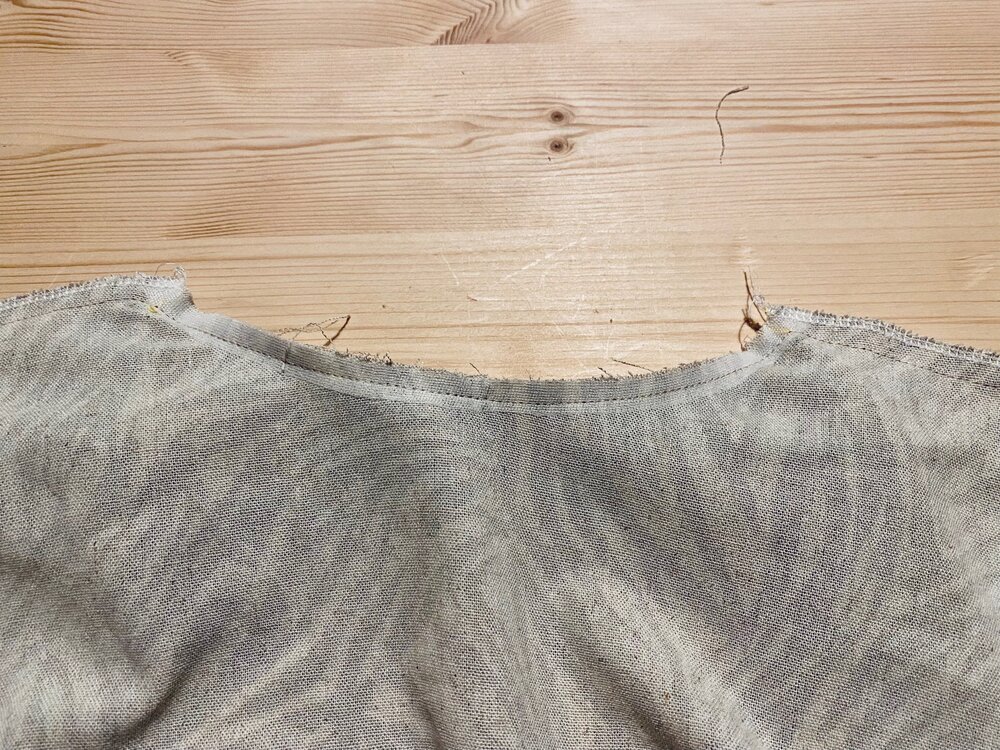
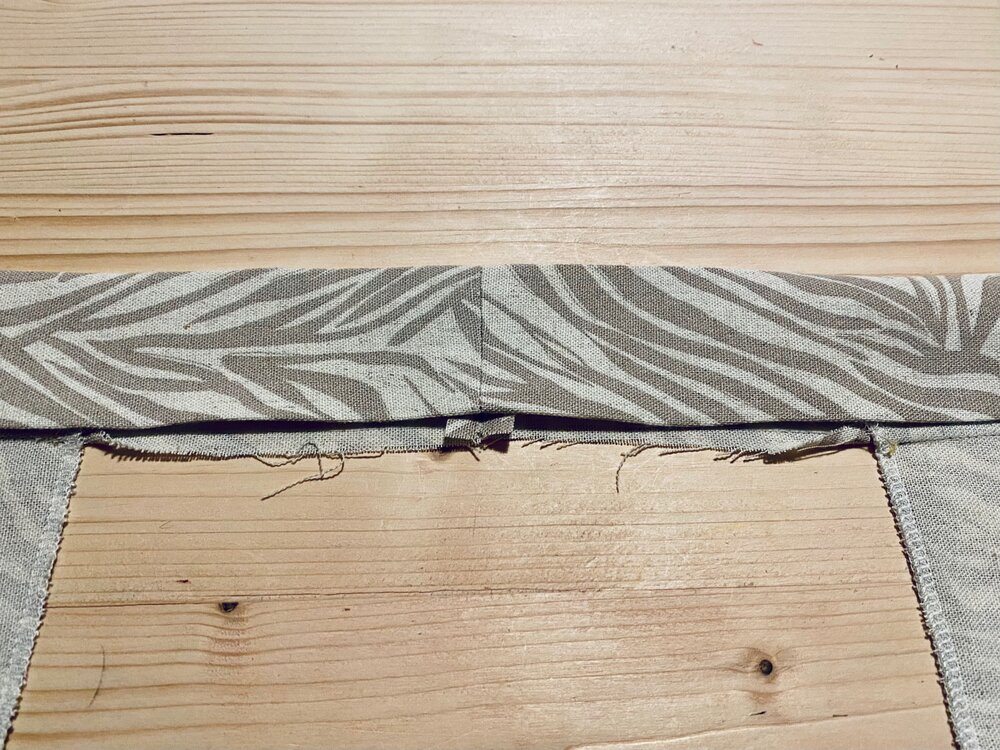
Press the shoulder seam allowances together towards the back bodice and the neckline seam allowances up, so that they will be covered by the neckband. Because the neckline seam allowances are only ¼” / 0.6cm, I usually do not need to do any clipping here. On the right side you see that the seam intersection has a slight angle, a smooth intersection depends on a lot on your fabric.
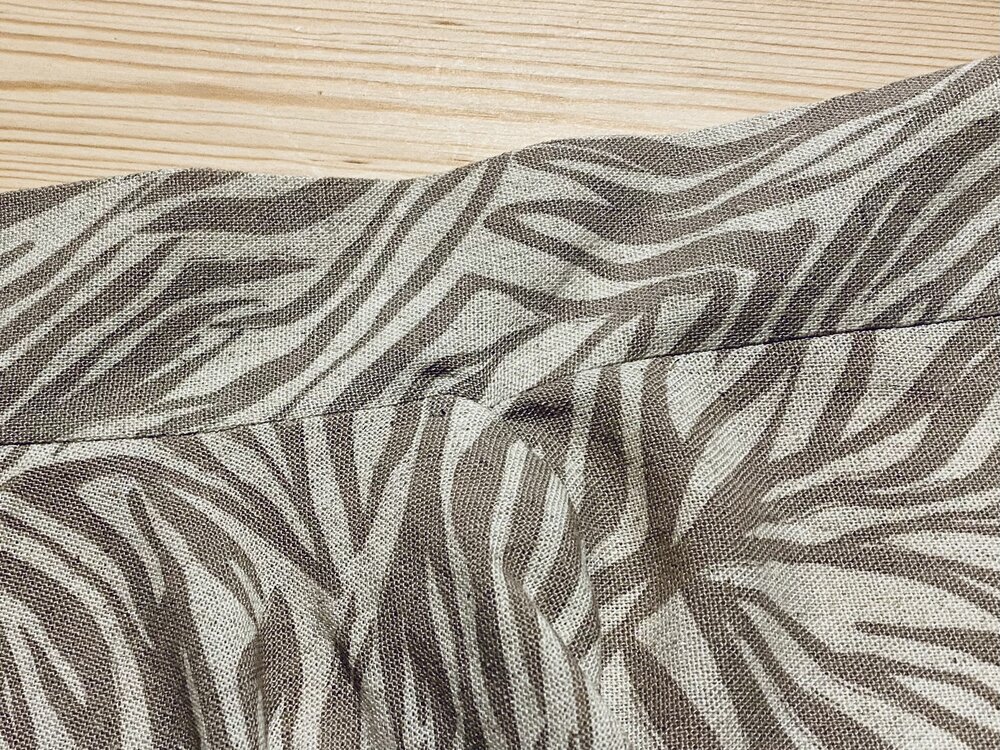
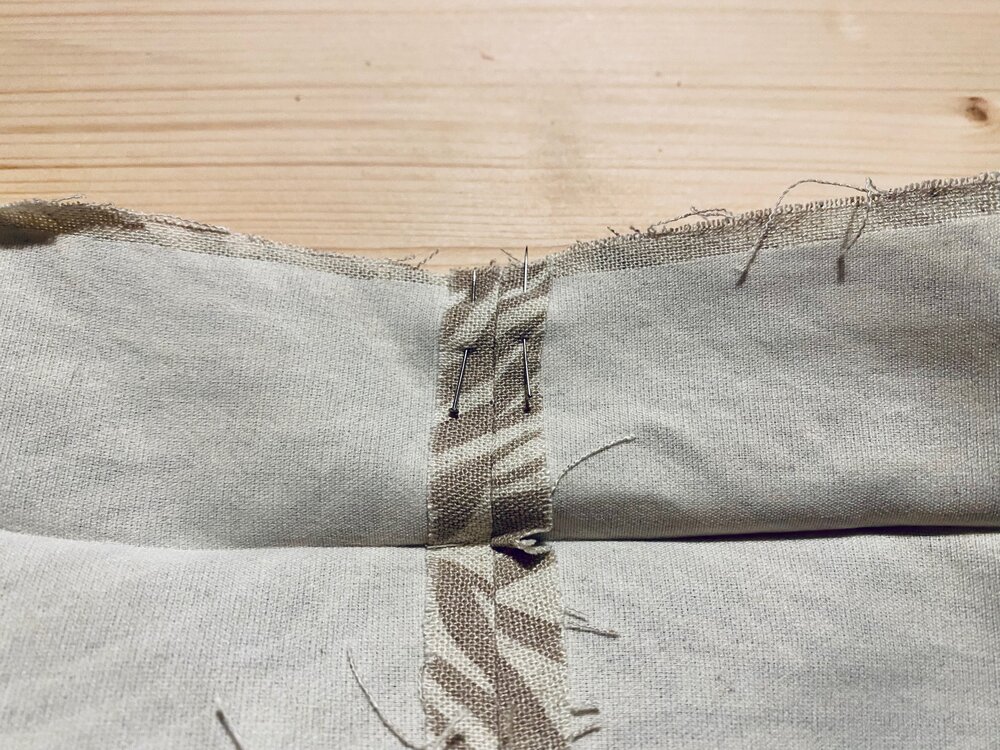
The last step for today is securing the neckband. Fold it wrong sides together along the pre-pressed lines, tucking under the raw edge by 3/8” / 1cm (using pre-pressed edge). Place the folded edge on top of the dart and neck seam line. I like to pin the end of the neckband in place to prevent it from shifting and I also add one pin at center back.
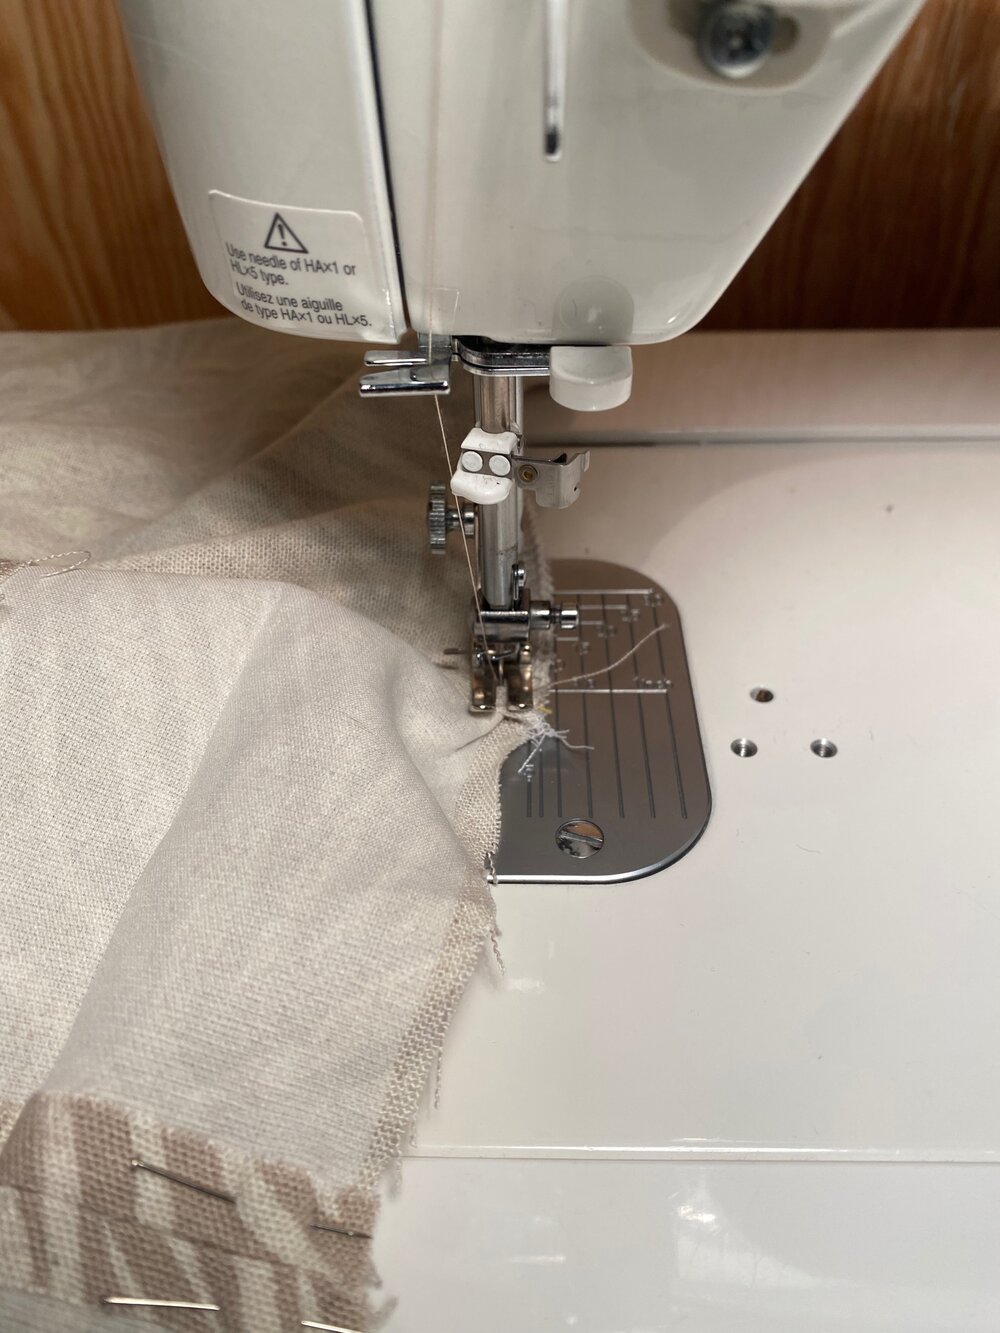
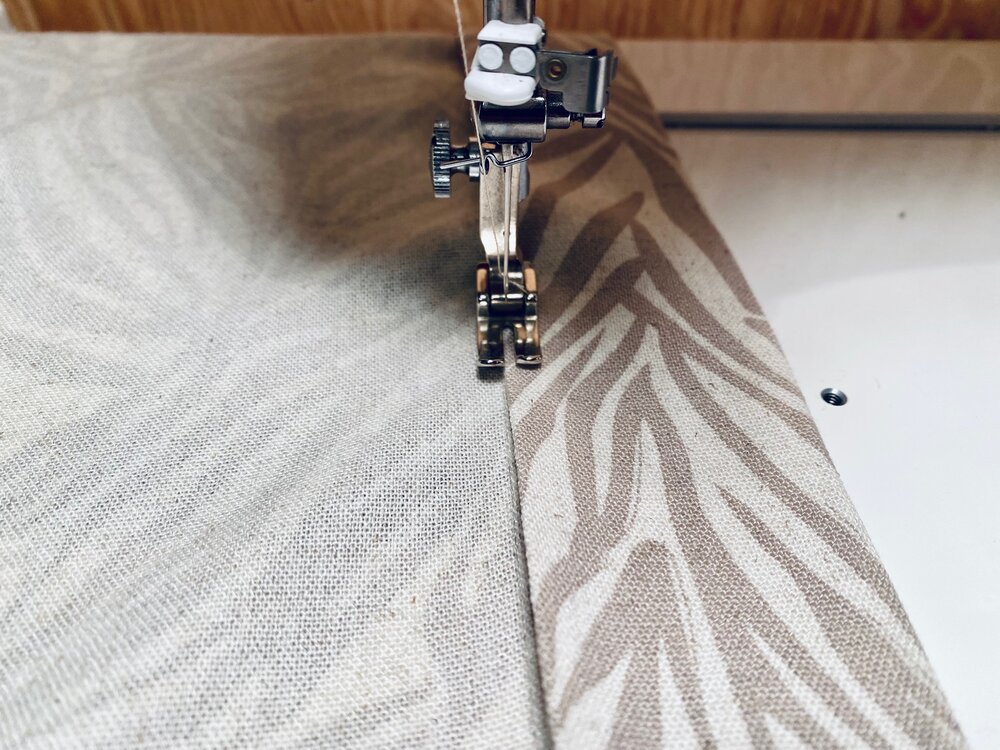
Edge stitch to secure the neckband, starting and finishing at the tip of darts. I prefer to stitch with the right side facing up, but that’s a personal preference, and it also depends on your machine's stitch quality. On the right side, the stitching should be just inside the seam line.

As I mentioned earlier, you can see a little bit of the neckline interfacing. I usually don’t mind but it is something you might want to take into consideration.
That’s it for today. I hope that the additional information was helpful to you. If you are following along, you can resume sewing with the instructions at step 8. My next tutorial will walk you through steps 13 to 16 and 20 to 24! In the meantime, let me know in the comments if you have questions. You can also check the Helena Wrap Dress resource page, where I curate a list of helpful tutorials to help you sew your dress.
Happy sewing,
Delphine