Hello sewists,
We are approaching the end of our Stephanie Skirt sewalong and I’m so glad that you found those posts useful! In case you are new to this serie, you can check out previous posts here and get the sewing pattern in our shop. Today, I’ll be showing how to finish the center back seam of your skirt and attach the waistband.

Finishing the center back seam
Obviously, you could overlock or zigzag the edges before you attach the zipper, but my favorite way to finish this seam is to do a hong kong finish. And if you finish the bottom of the zipper too, the inside of your garment will look almost as good as the outside. So first of all, you will need something to bind the raw edges.
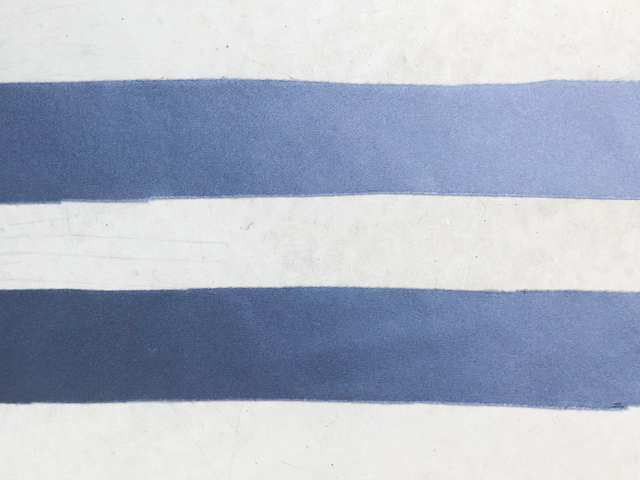
As mentioned in our spaghetti strap tutorial, one of the best tips I picked up from Eira is to cut bias strips of 1 ¼ inch (3,2cm) whenever I cut silk, especially on the bias to use the "lost" corners of the layout. I keep them hanging close to my sewing machine or lose in a box and they always come in handy. Alternatively, you can use rayon binding you (hug snug or similar). It’s faster to sew (just fold it in half and stitch) but it won’t look as luxurious.
If your zipper is much longer than zip opening, you first need to secure the zipper with some machine stitches just below the end of the opening. Cut the excess 1”½ (4cm) below the stitching.
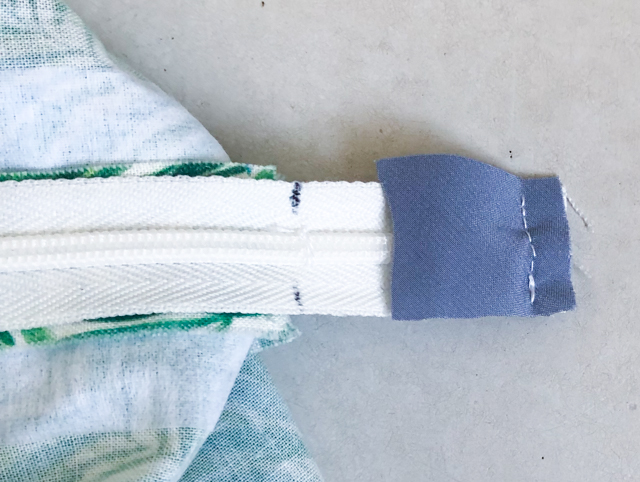
Cut a piece of binding the width of your zipper and stitch with the right side facing the zipper, ¼” from the edge.
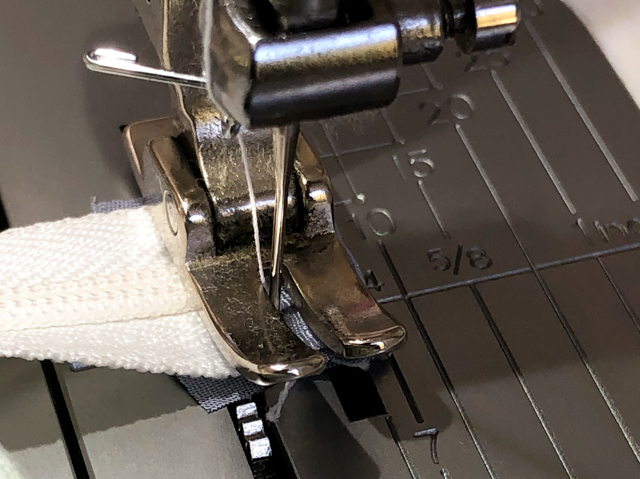
Turn the binding over to enclose the zipper end and stitch-in-the-ditch, meaning that you stitch right in your first seam.

Trim the wrong side of the binding ⅛” from the seam.
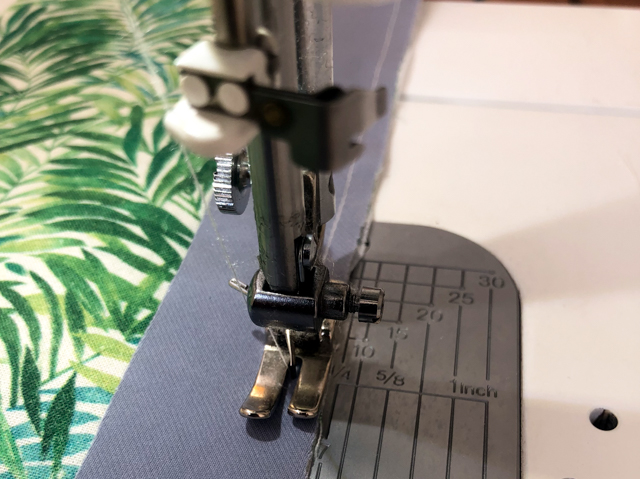
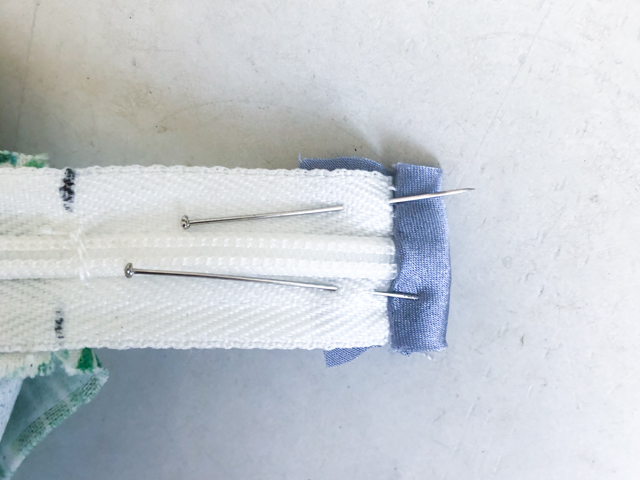
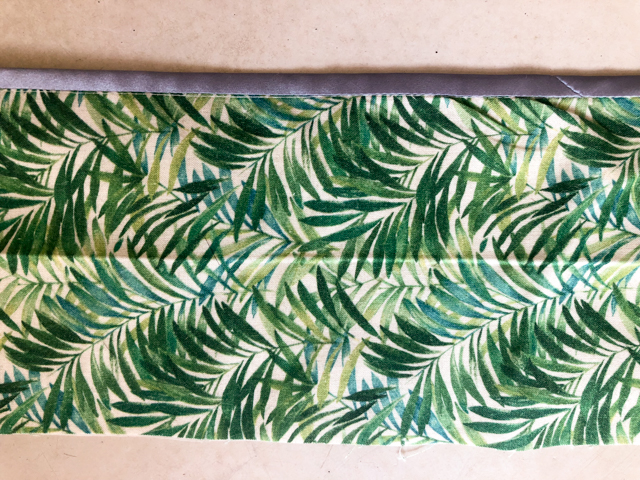
Cut 2 pieces of binding the length of the center back seam and stitch them to the seam allowances right sides together at ¼″ (0.7cm).

Press the binding away from the seam allowance.
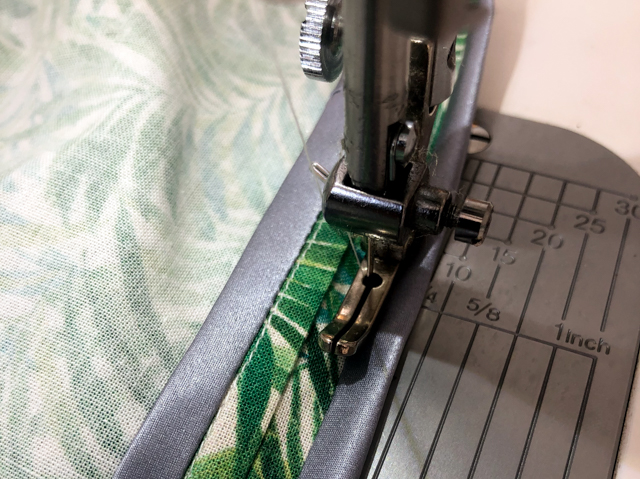
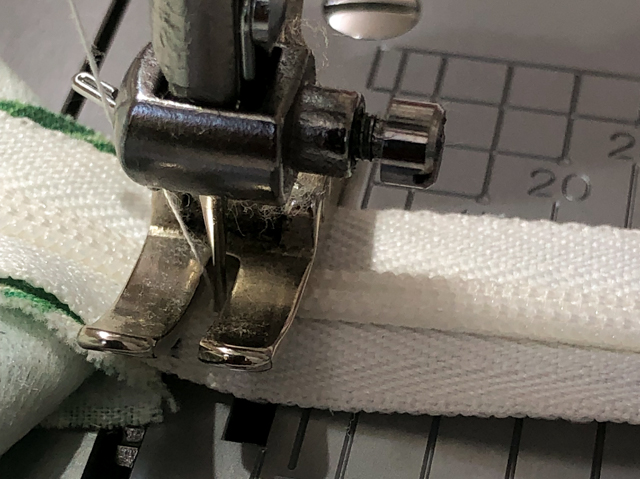
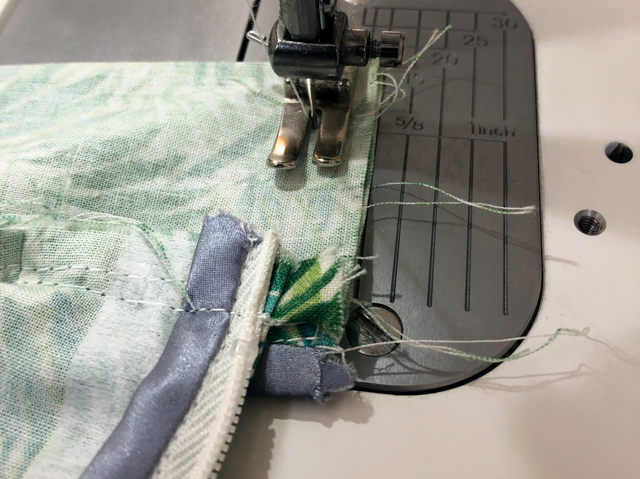
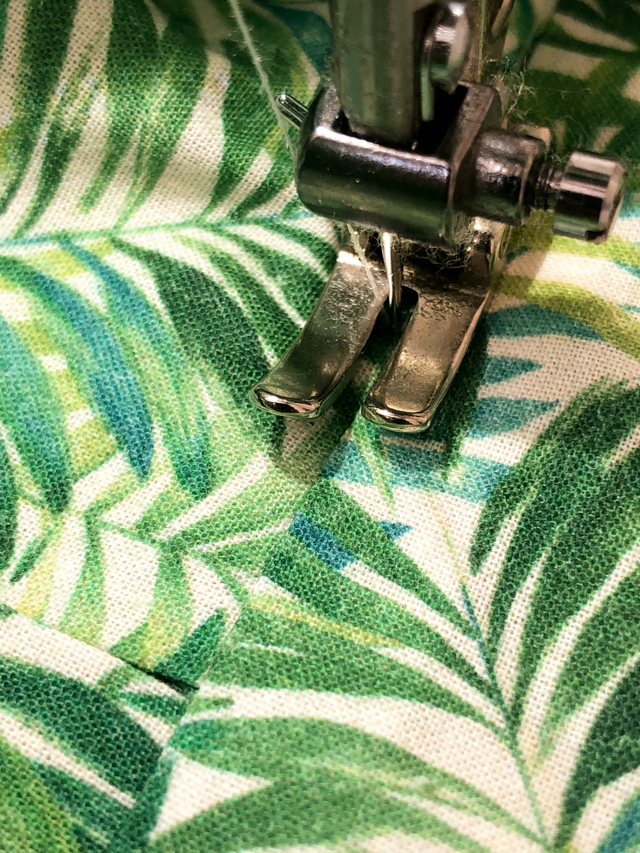
Fold the binding over the seam allowance and zipper, and stitch in the ditch. You can see that I’m using a zipper pressure foot, which helps when I’m stitching over the zipper too.
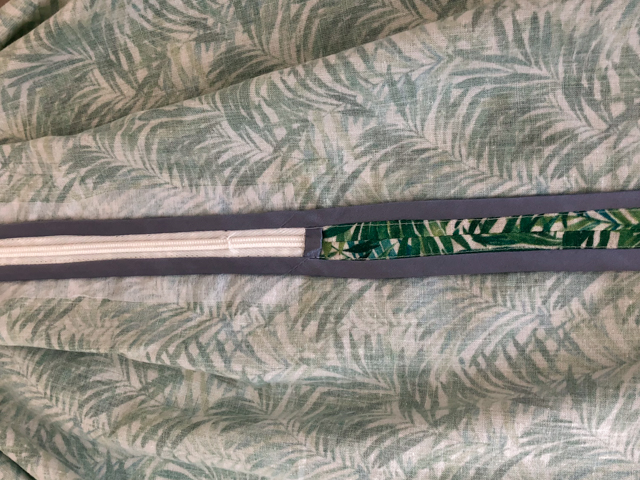
Press and trim the excess binding on the wrong side if necessary.
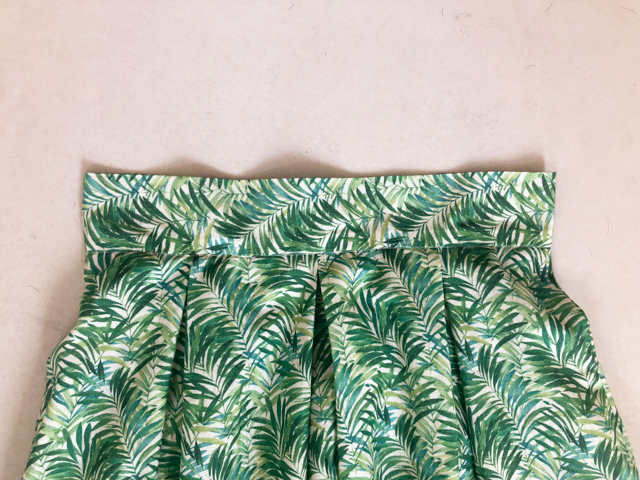
Attaching the waistband
The waistband of the Stephanie Skirt is a one piece rectangle folded in half lengthwise. There are several ways to finish the inside edge of the waistband but because the waist could get bulky with all the pleats, by favorite method is to also bind the raw edge and to leave it flat instead of folding it to the inside of the waistband.
Start by pressing the waistband piece in half lengthwise. Bind the long edge that will be on the inside, the same way you did for the center back seam.
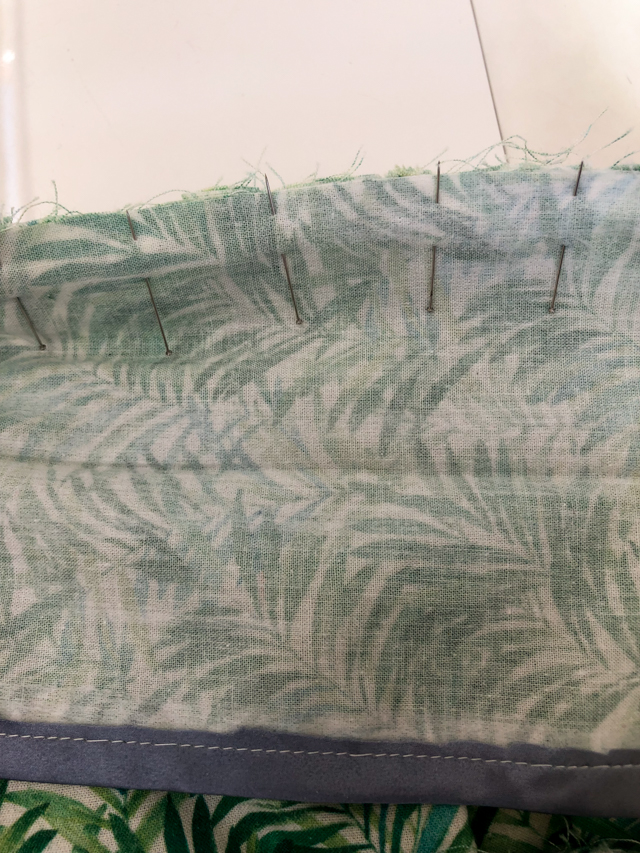
Unzip the zipper. Pin and stitch waistband to to the skirt right sides together with ⅜” (1cm) seam allowances, matching notches with side seams, center front and back. Press the seam towards the waistband.
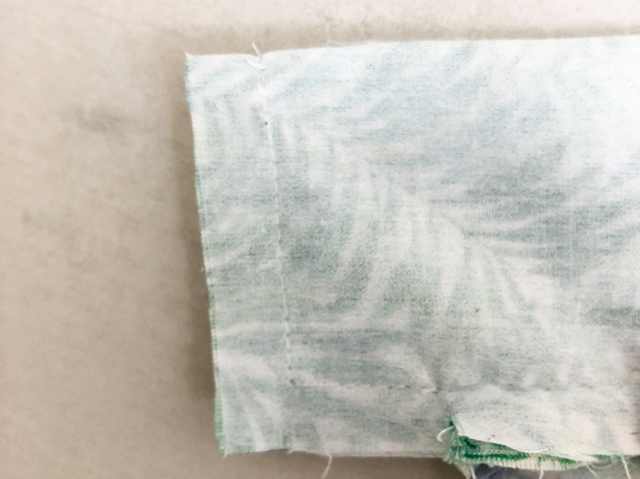
Fold the waistband right sides together lengthwise. Fold bias bound corner at a 45 degree angle. Stitch the short sides together with a ⅜” (1cm) seam allowances. Trim the corners.
Turn the waistband to the right side and press.
Stitch in the ditch all around the waist, leaving the seam allowance with the binding flat.
Congratulations you are done for today! In my final post of the sewalong, I will be sewing the hem and hooks&bars by hand so your sewing machine will get a break. Let me know in the comments in you have any question!