Welcome to the second part of the Stephanie Sewalong!
I hope that my previous post inspired you and help you pick your fabric! Remember that you only have until tomorrow to enjoy 20% off a selection of fabric from Selvedge and Bolts (check out the blog post for more details). Today we will start slowly by preparing the pattern and cutting fabric and the fusible interfacing.
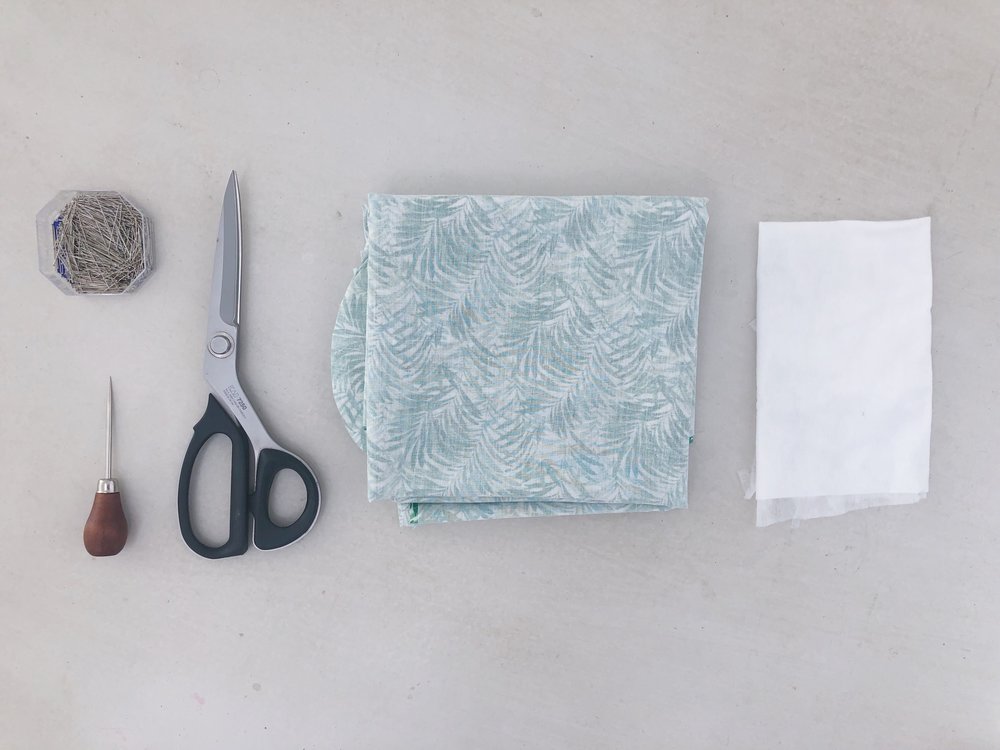
To complete these steps you will need:
the pattern (visit the shop if you haven’t purchased it yet),
fabric and paper scissors
pins
an awl
a ruler and measuring tape
your skirt fabric (pre-washed and ironed as necessary)
and the appropriate fusible interfacing for your fabric choice.

To pick your size for this pattern, it’s best to go by your waist measurement (preferably taken while sitting). You can also check the finished waist measurement of a skirt from your closet that sits at the natural waist.
You might want to adjust the length of the skirt at the hem before placing the pattern on the fabric.
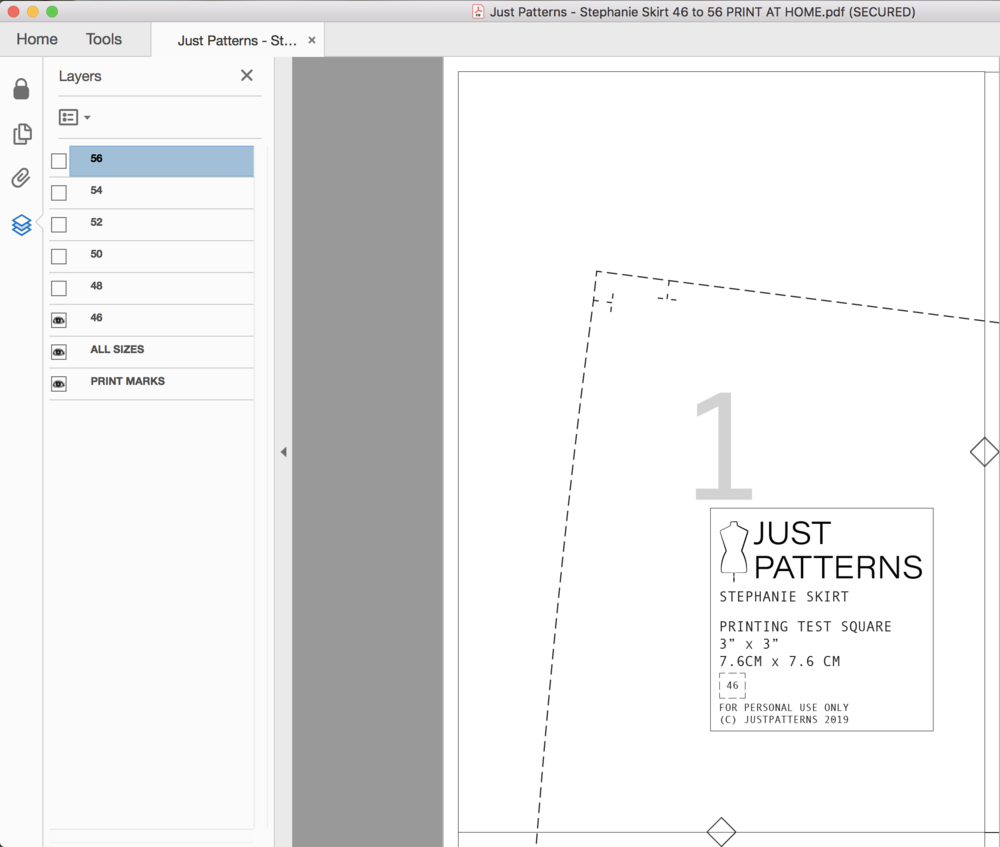
Once you picked your size, you can use the layered function of Adobe Acrobat Reader to display and print only that size.
Click the “Layers” icon in the left side navigation panel. If the icon is hidden, choose View -> Show/Hide -> Navigation Panes -> Layers.
The “All Sizes” and “Print Marks” boxes should remain checked.
Print the first page at 100%/no scaling, control the size of the test square. If you are happy with the result, you can print the full pattern with the same settings.
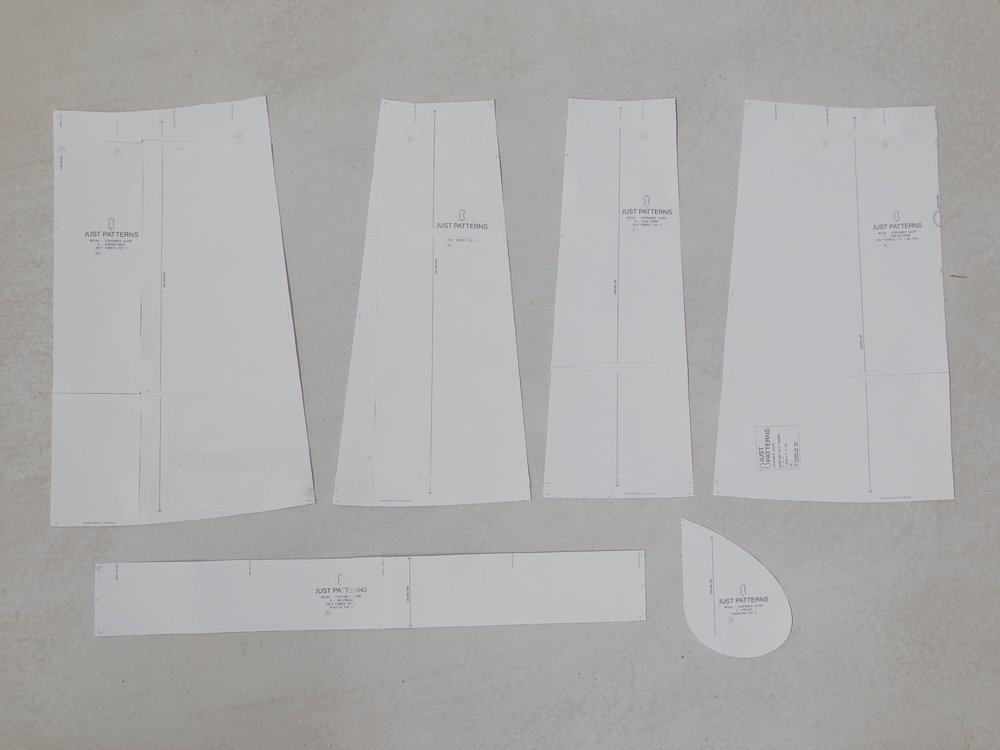
Assemble the pattern and cut all pieces.
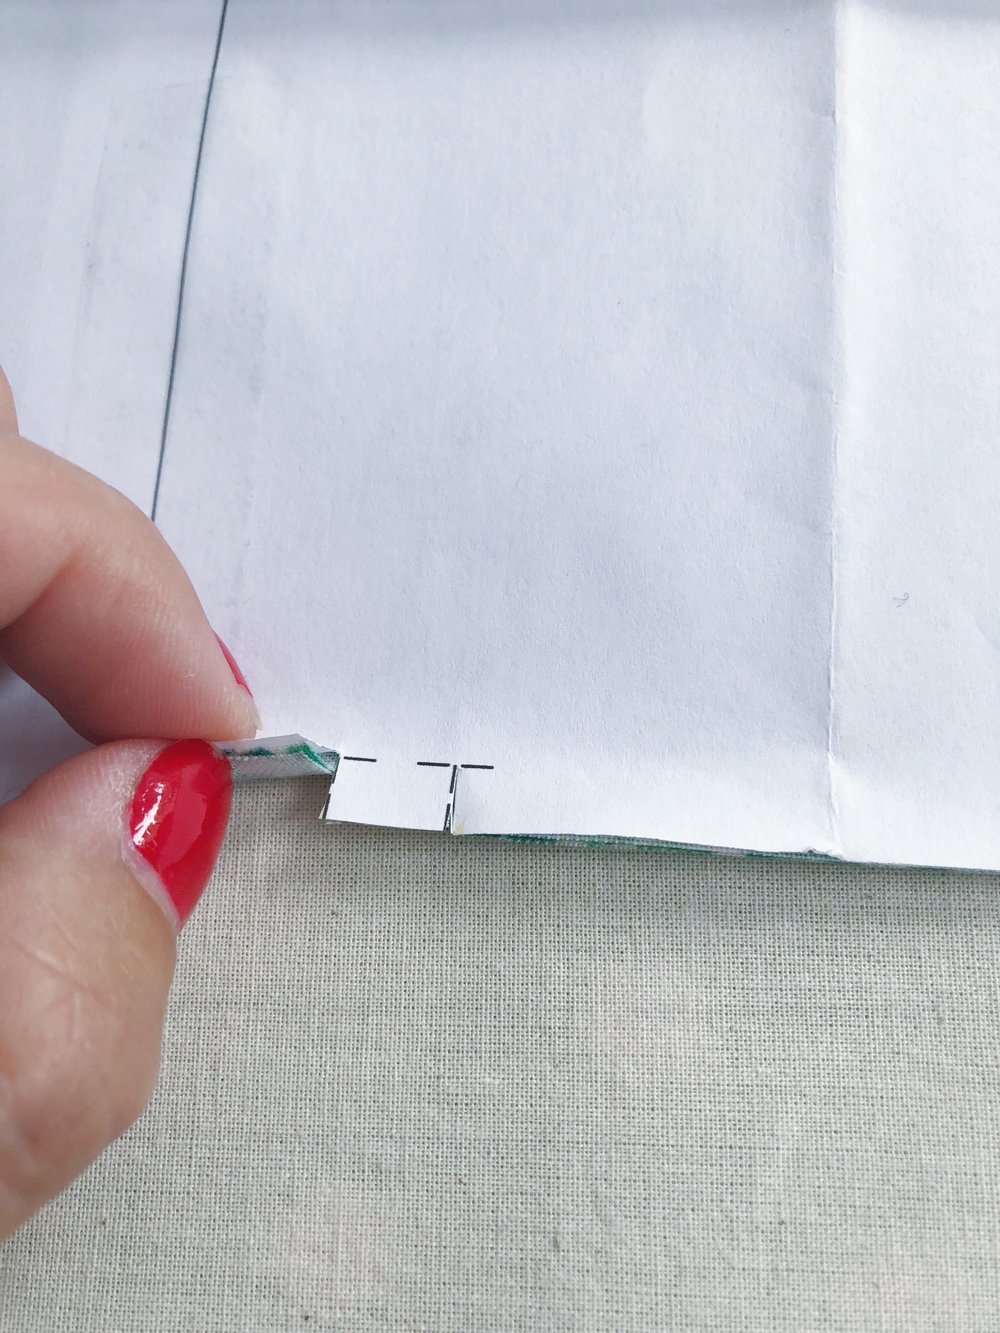
Use the awl to make small holes in the center of the pleats marking.
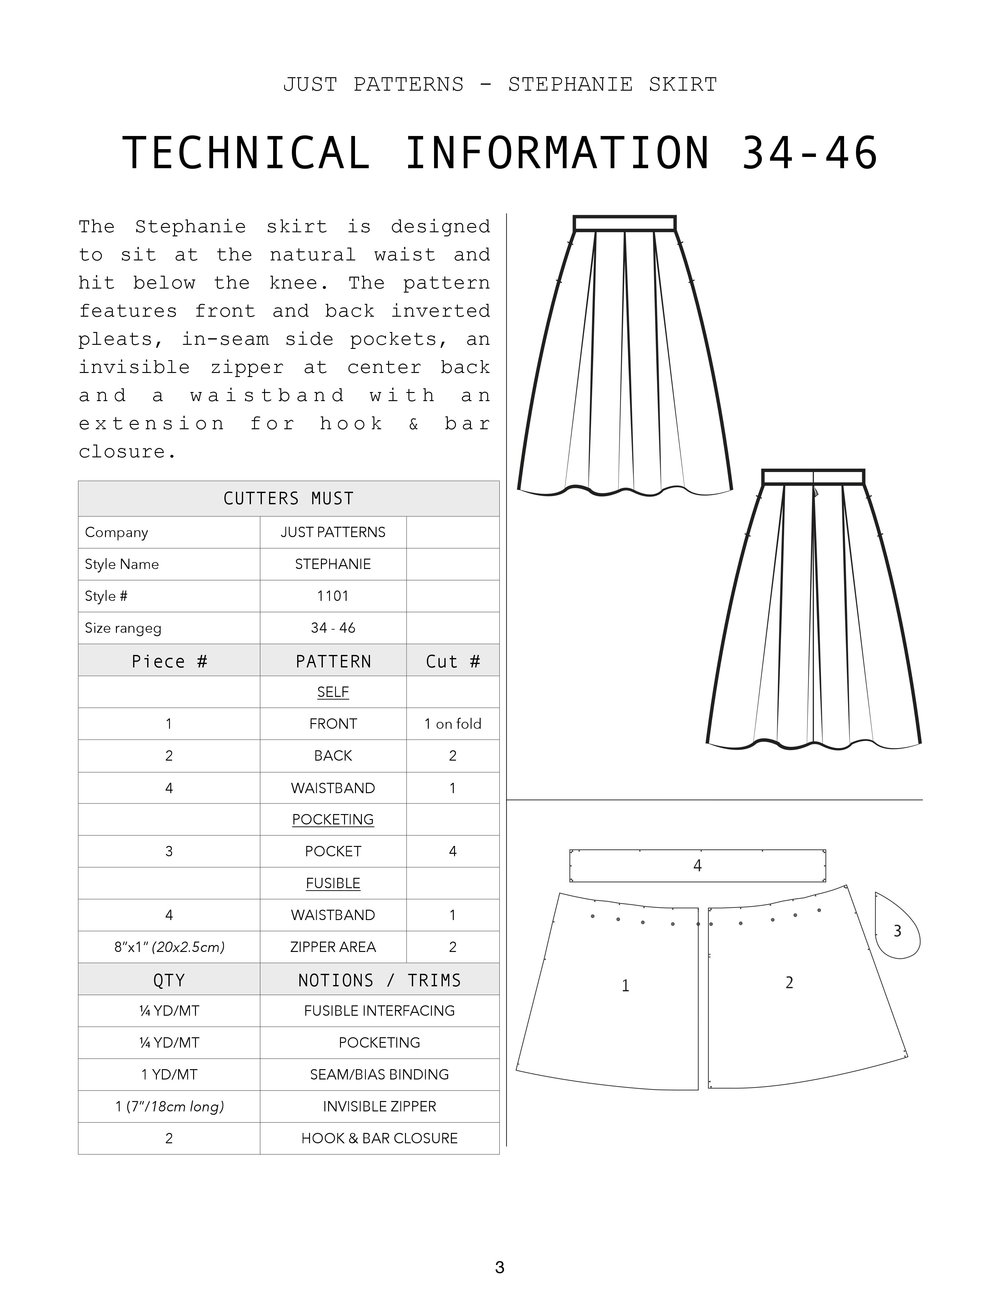
Fold the fabric in half with the selvedges together and the right side on the inside. Follow the cutter’s must and place the pattern on the fabric, ensuring that the grainlines are aligned with either the folded edge or the selvedges before pinning.
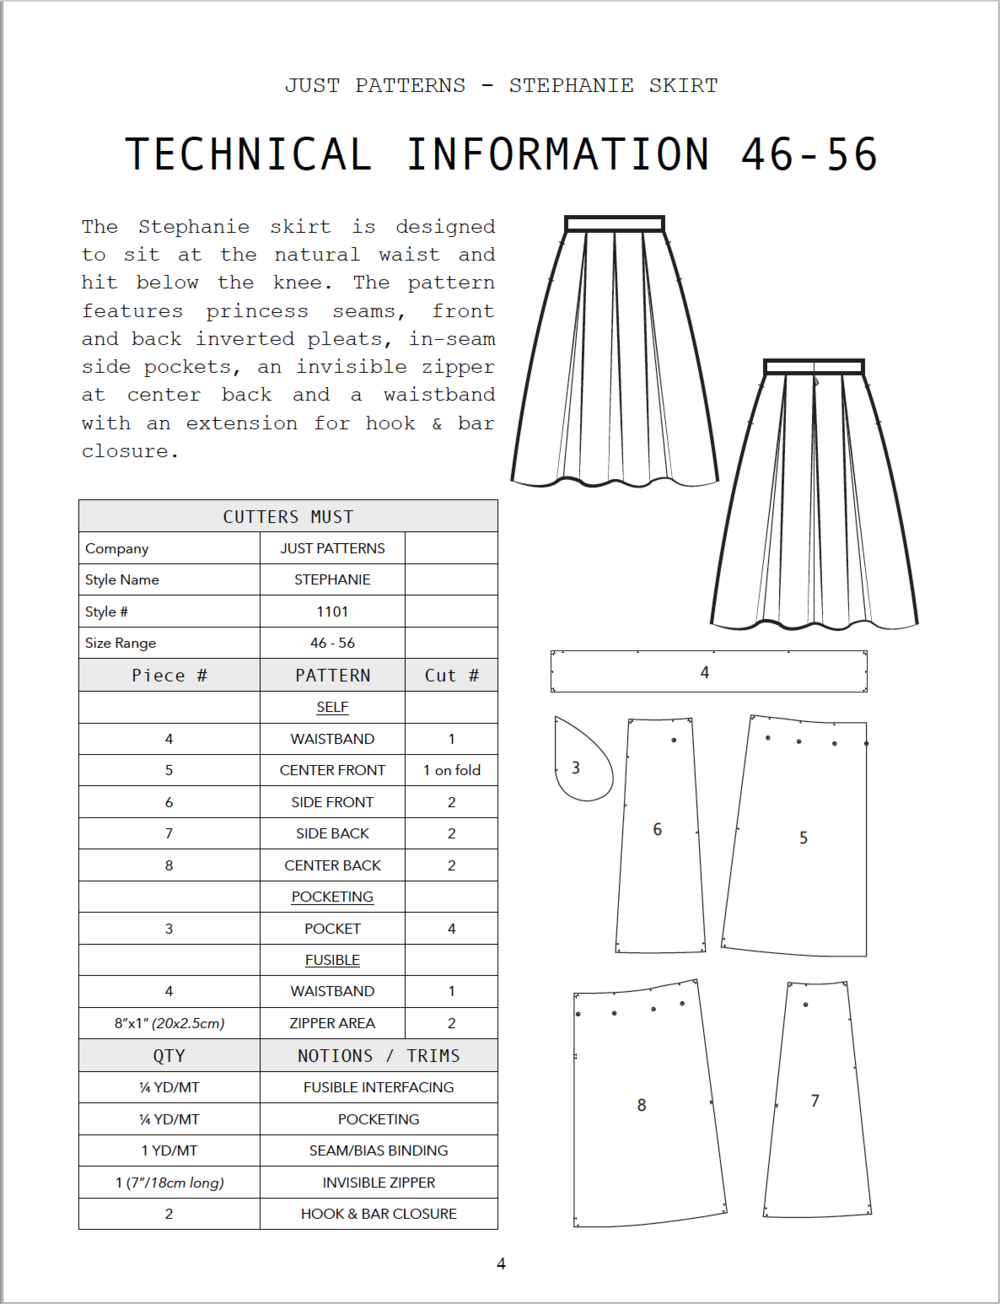
Once all the pattern pieces have been cut, do not remove the pins and use your scissors to snip all notches by ¼” (0.6cm). The notches are used to mark seam allowances, pocket placement, the end of the zipper, the beginning of pleats and help you stitch the right pieces together.
Marking the pleats below the seam line will make it easier to form even and symmetrical pleats and it only take a few seconds and some pins! Insert a pin in each of the holes you created with your awl.
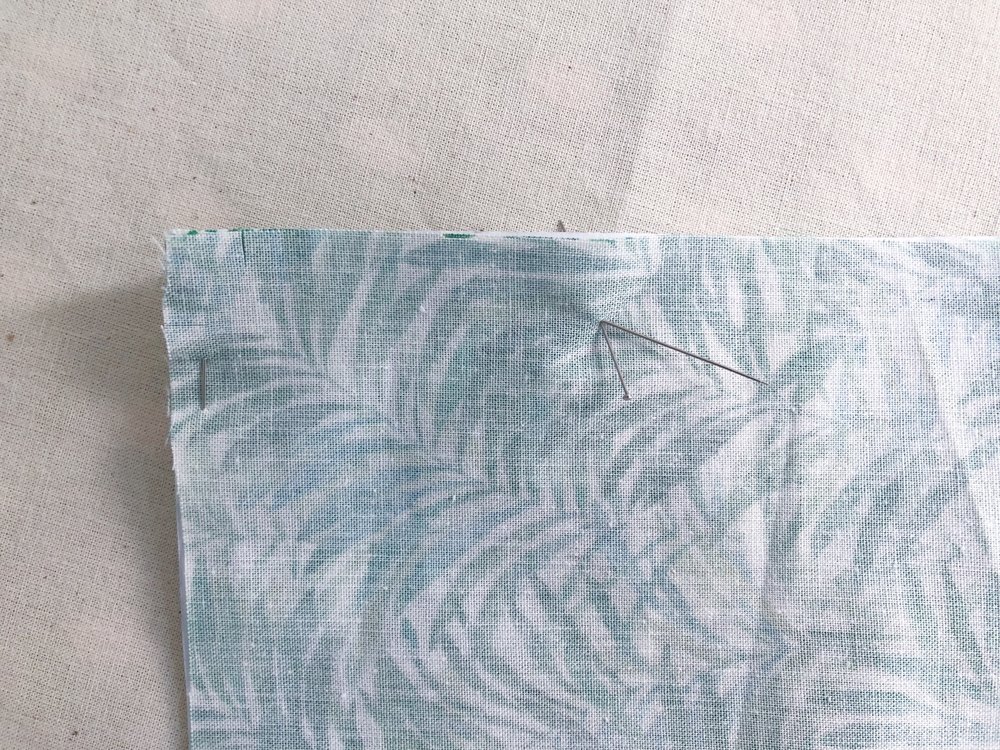
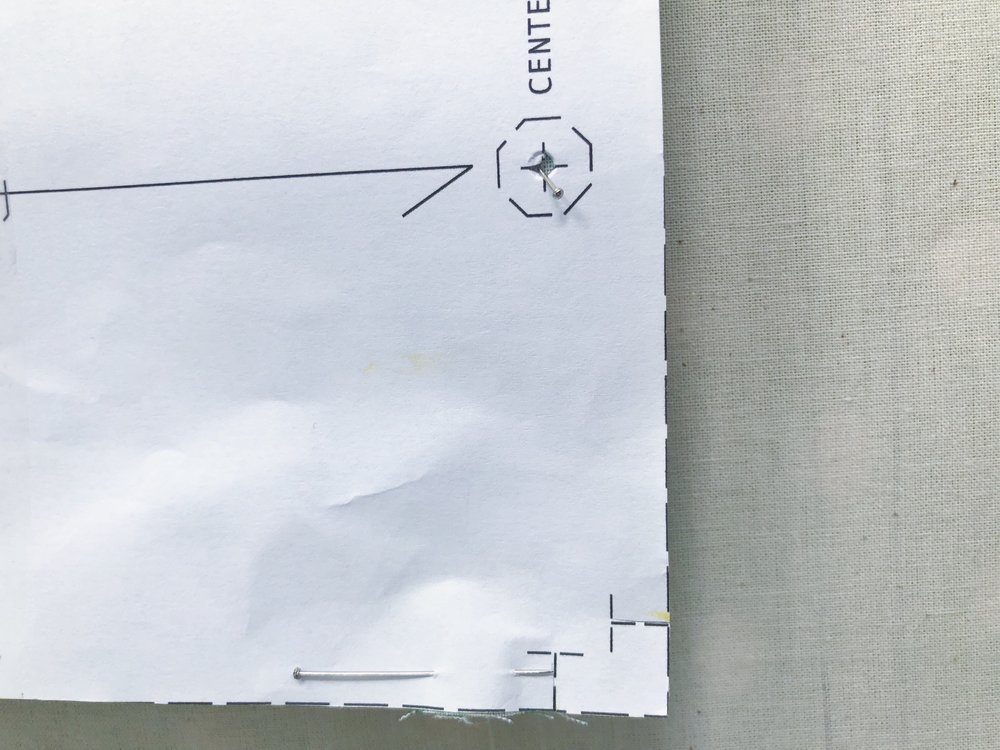
Then turn the pattern pieces around and insert a pin on the other side.
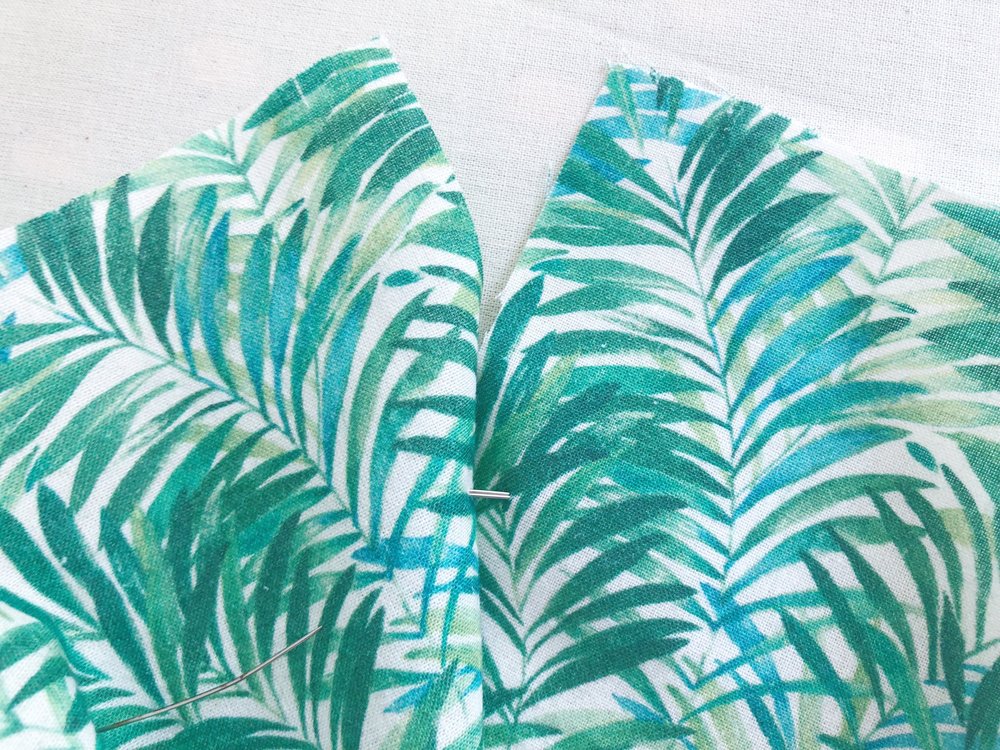
Remove the pattern pieces from the fabric and gently separate the layers so that the pins hang on both sides of the fabric. Insert the other half of the pin and remember that the first point where you entered the pattern is the marking of the pleat. You can use the same combination of notches and pins to mark darts quickly!
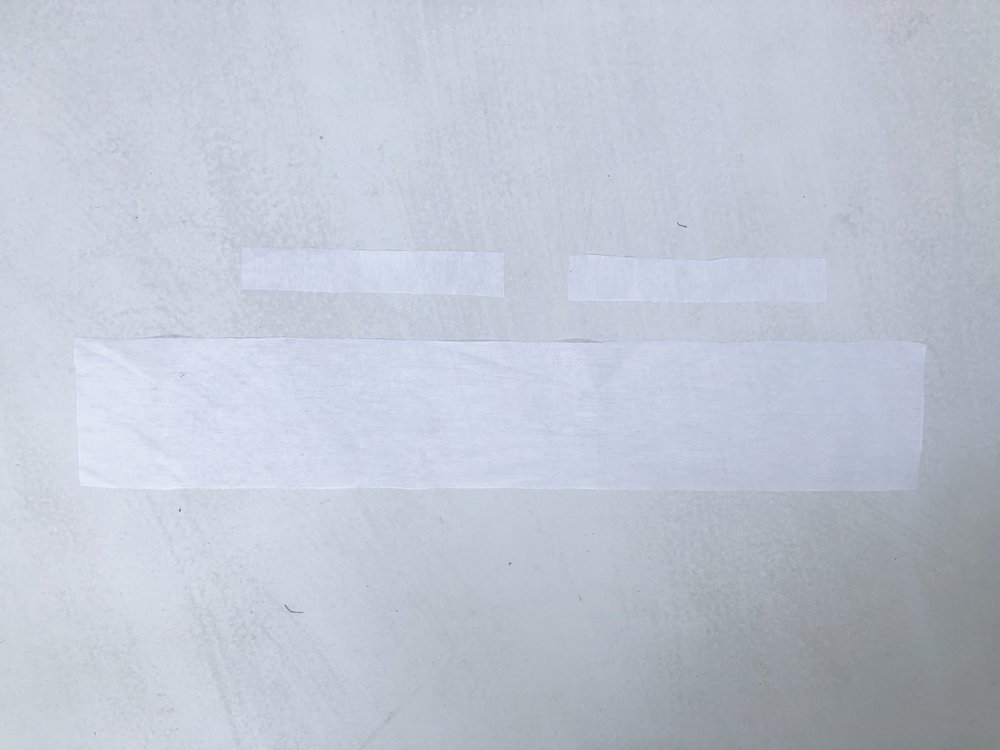
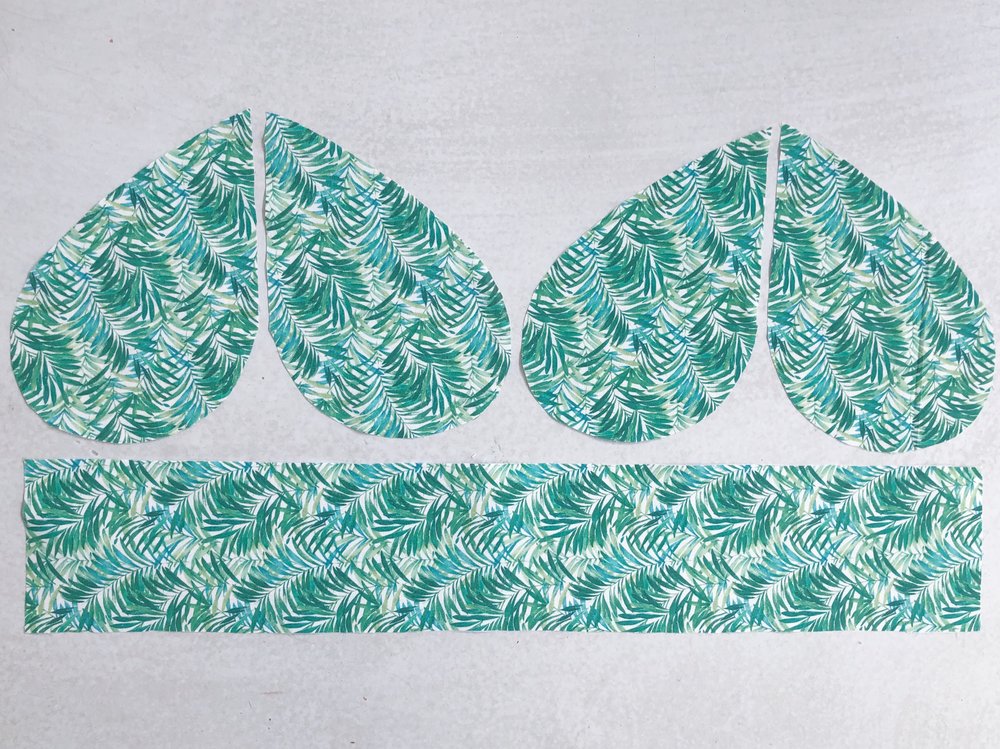
Cut the fusible interfacing. You will have 3 rectangles: the waistband and the 2 pieces to fuse the zipper area on the back of the skirt.
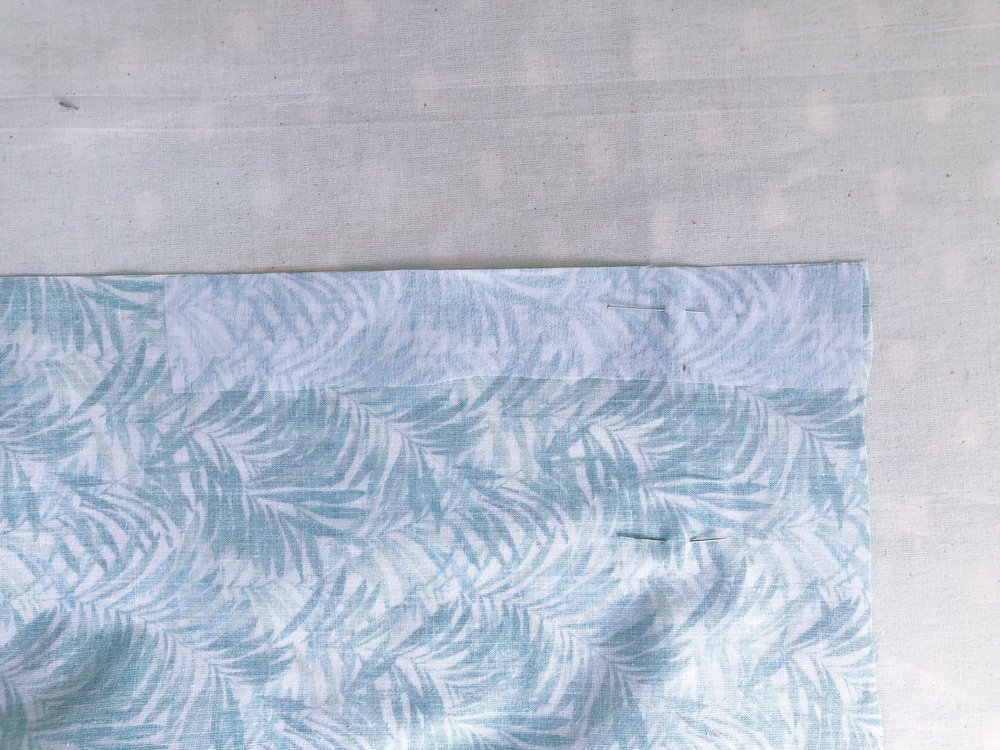
Fuse to the fabric according to the instructions of your interfacing. To fuse the zipper area, you need to remove the pin of the pleat marking at center back, and then replace it using the pattern piece as a guide.
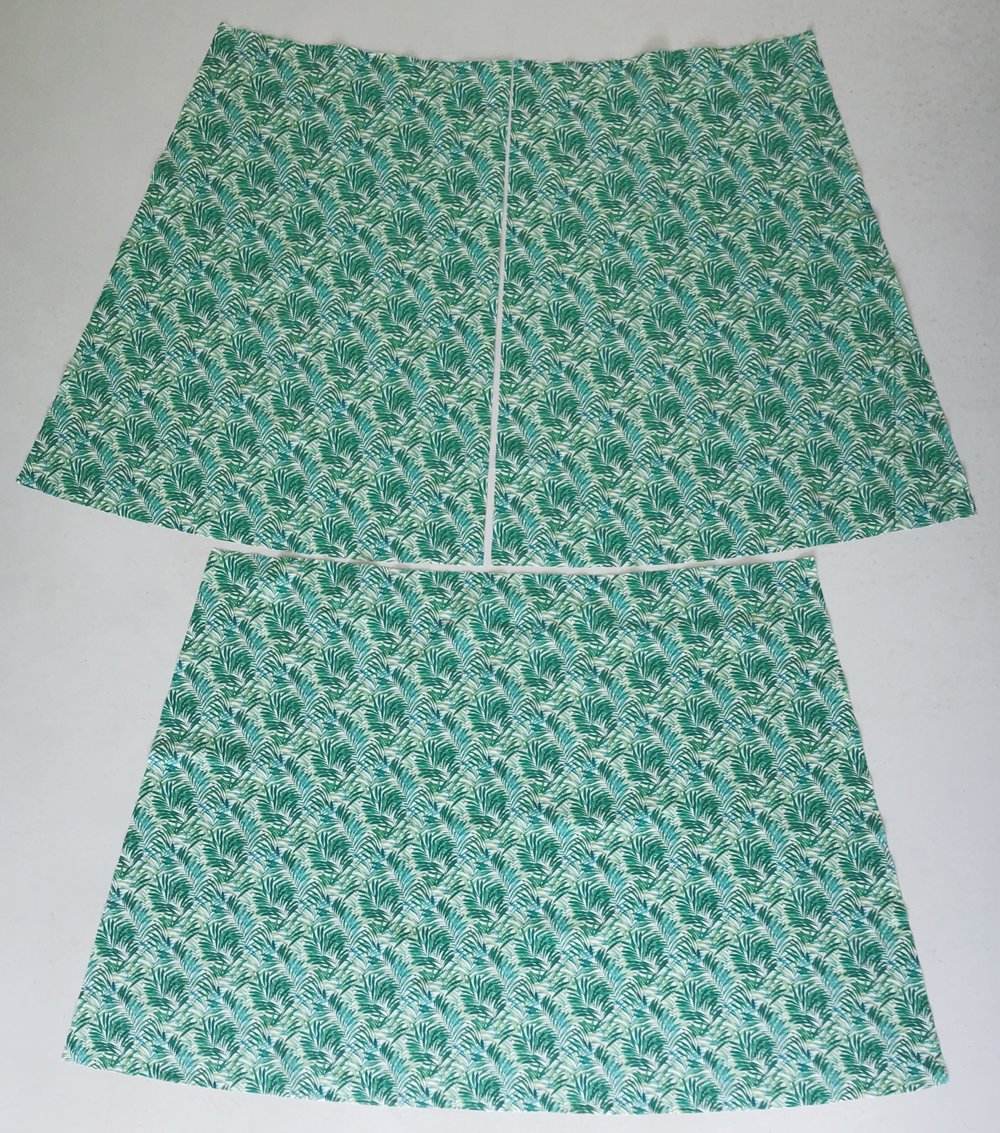
If you are using the 34 to 46 size range, you will end up with one piece for the front and 2 for the back.
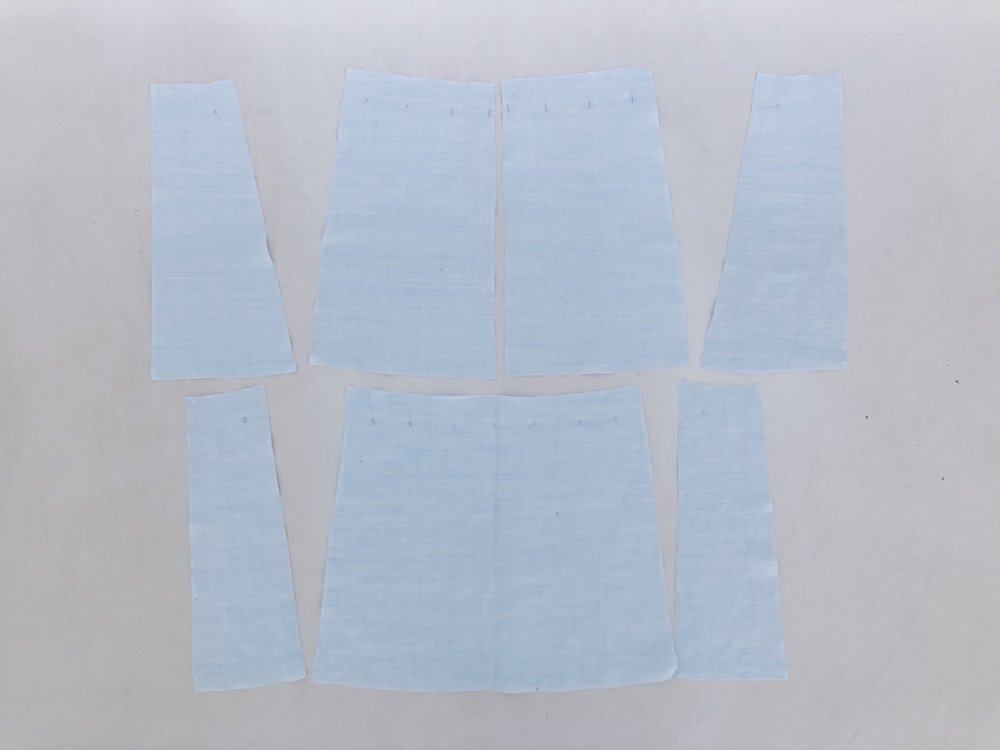
And if you are using the 46 to 56 size range, you have a little more pattern pieces but the finished skirt will end up looking very similar.
For both size range, you also have the waistband piece and 4 pocket bag pieces. Since I’m using a relatively lightweight cotton for this sample, I used the self fabric for the pockets but when if I was using something heavier like wool, I would have used a lighter material. During construction, we will make sure that the in-seam pockets do not show!
I hope that the post was helpful, don’t hesitate to reach out in the comments if you have any questions!