Hello and welcome to a new installment of the Stephanie Skirt sewalong!
In my previous posts, I went through fabric choices, cutting and marking and creating in-seam pockets in french seams. I hope that it went well! Don’t forget that you can reach out any time in the comment section or on Instagram if you are struggling.
Today I’ll be showing you the preparation of the pleats and how to insert a perfect and pucker-free invisible zipper at center back. I know that zippers, and in particular invisible zippers are still a source of stress for many sewists but they really don’t have to be! I also use to struggle with them, and I think one of the reasons is that I focused too much on stitching close to the teeth and not enough on what was happening at the bottom of the zipper. But the day I tried Kathleen Fasanella’s tutorial on Fashion Incubator, my invisible zippers went from ok to perfect. Every single time!
After a decade of putting in those zippers, I’ve simplified the initial tutorial to retain the key elements that contributes to a neat result but I also encourage you to give the full tutorial a go if you have some time on your hands(as well as all the other tutorials on Fashion Incubator). The 3 “secrets” to a perfect zip are the following:
Always interface the zipper area.
Stitch the zipper with a smaller seam allowance than the main seam - 1/16 to 1/8 (0.1 - 0.3 cm) -to allow for the zipper and fabric to roll over.
Stop stitching the bottom zipper tape exactly in the same spot on both side.
I also recommend to use a specific invisible zip pressing foot for your sewing machine. I know you can do it with a regular zipper foot and I have done it myself, but it’s just so much easier with the proper foot. Plus, invisible zippers are so ubiquitous in today’s clothing that it’s well worth the investment!
And now, on to the sew-along!
Preparing the inverted box pleats
There are 3 box pleats in the front and 3 in the back. I start by forming and pinning them and then baste them with a line of stitches all around the waist, ¼” (0.7cm) from the edge so it will be invisible after you attach the waistband with a ⅜” seam allowance.
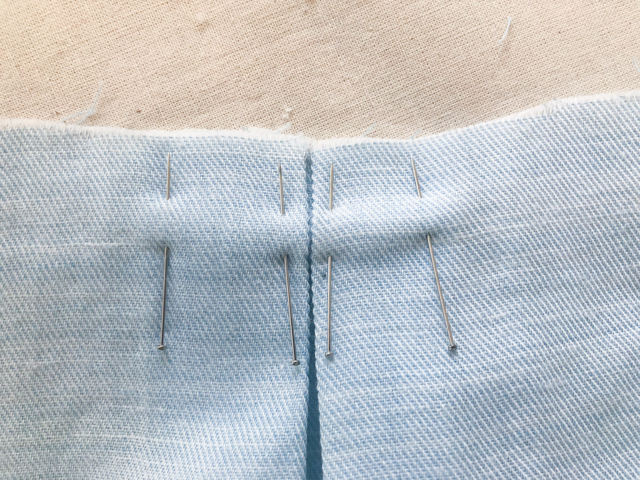
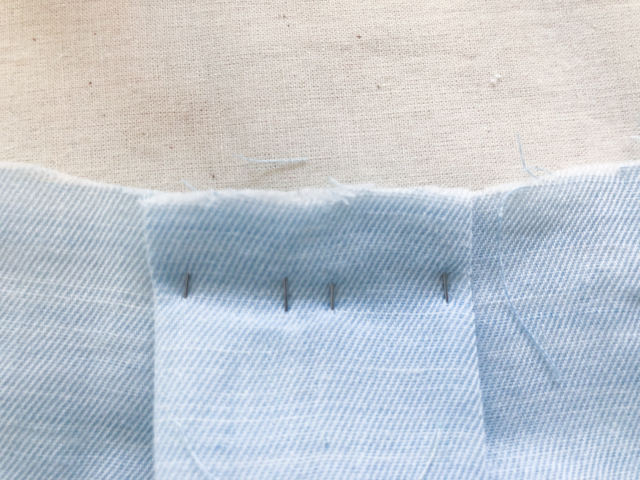
Using the pins that you placed to mark the pleats and the notches (as demonstrated in this post in this post), work on the right side of the fabric and bring the outer pleats to the center of each pleat. Pin them in place.
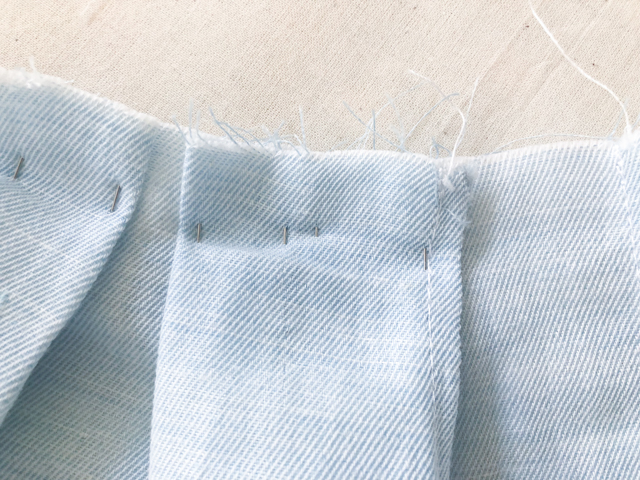
For the 46 - 56 size range, the pleats closer to the side seams look a little different since they are hiding a seam. That seam should act as the the inner fold of the pleat.
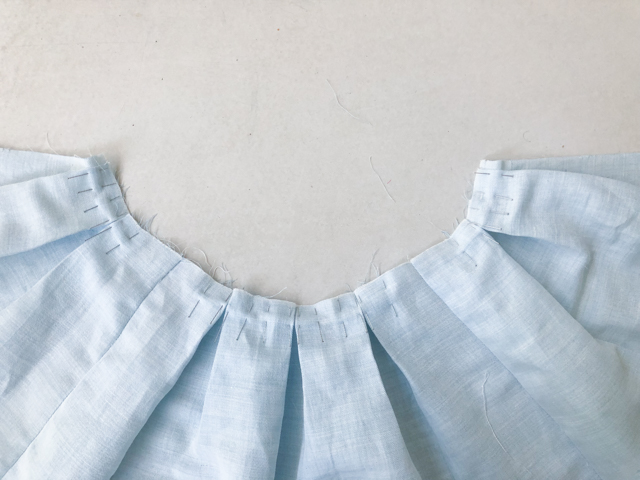
Once all the pleats are pinned into place, you can secure them in place by sewing a line of stitches ¼” (0.7cm) away from the upper edge.
Inserting the invisible zipper
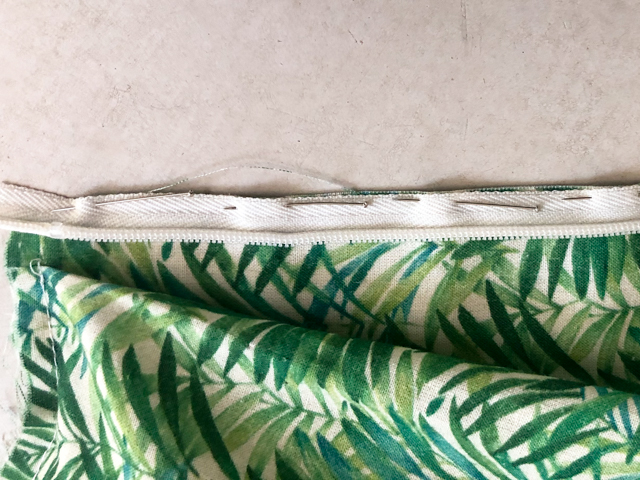
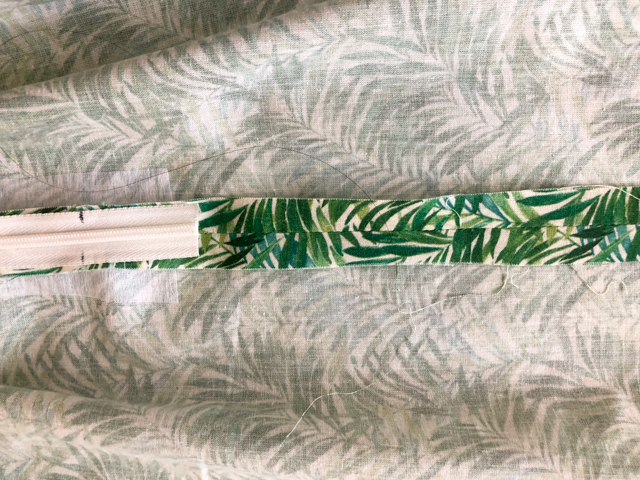
Start by pinning on of the zipper tapes to the right side of the skirt back, ensuring that the zipper stops is at ⅜” from the top (the seam allowance of the waistband) and that your stitching line will be at ⅜” from the edge of the fabric.

Stitch using an invisible zip presser foot. Stop when reaching the double notch.
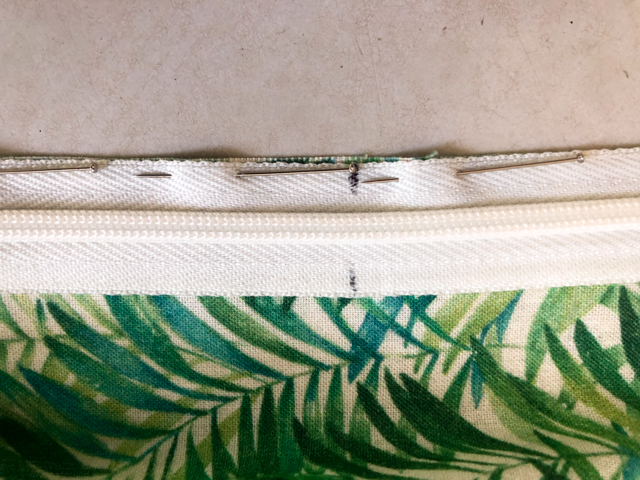
Use a pen to mark where the stitching ended on the first side of the zipper tape and transfer the marking on to the other side. Stitch the other side of the zipper tape, stopping exactly where you marked.
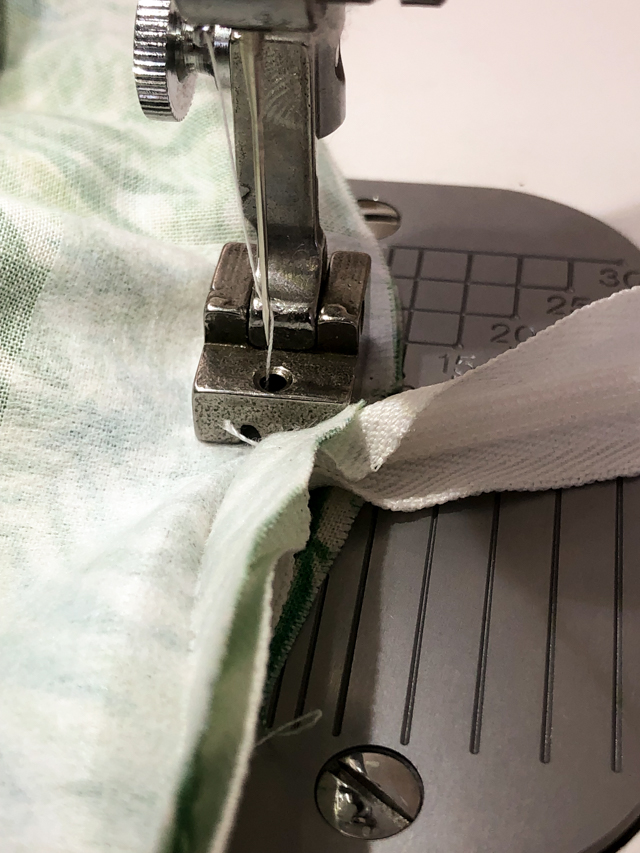
Stitch the rest of the center back seam with a ½” seam allowance and get as close to the zipper as you can. The very short length of the invisible zipper foot is very helpful for that.
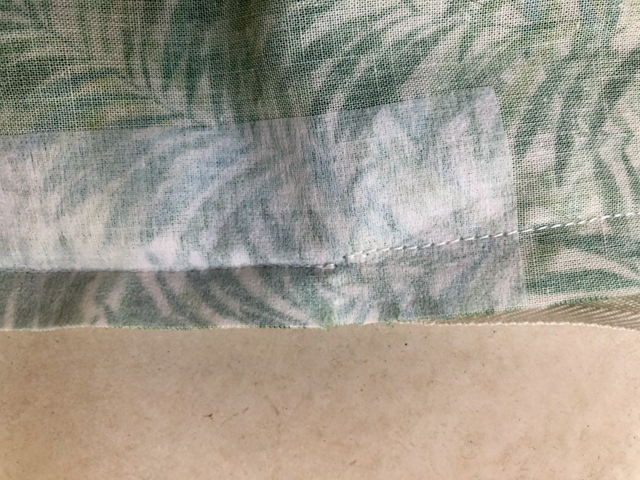
The center back seam should stop slightly further from the edge than the stitching of the zipper.
Press the center back seam open on the wrong side and the entire seam and zipper on the right side. Admire your perfect zipper! Leave the inside unfinished for now since I’ll be showing you how to bind the edges in my next post!
