Dear readers,
The Tatjana Trousers have stayed seriously on trend since their launch in December 2020, and since I know that many of you plan to sew a pair with the newly released Veronica Vest, I thought it would be a good time to finally publish a long-delayed tutorial for the slant pockets. I just released a slightly updated version of the Tatjana Trousers pattern with 2 more sizes (58 and 60) and projector files. If you purchased Tatjana in the past and want the new version, just send me a message with your order number, and I’ll send you a new link!
Let me also say that these pockets are also an opportunity to simplify and speed up construction. If you are using fabric that’s on the thin side but with the body (so that the pocket bag is not too visible when worn) you can cut the pocket bag in self-fabric and skip the front pocket facing and shield pieces.
Now, if you want the full tailored look and you are using lining or a cute print for your pocketing fabric, let’s jump in the tutorial. When I say it’s long-delayed, I actually took these pictures when I sewed a linen pair of Tatjana Shorts, and I already published the zipper fly tutorial, but then never got around to the pocket one. It covers steps 12 to 15 in the instructions if you want to follow along:
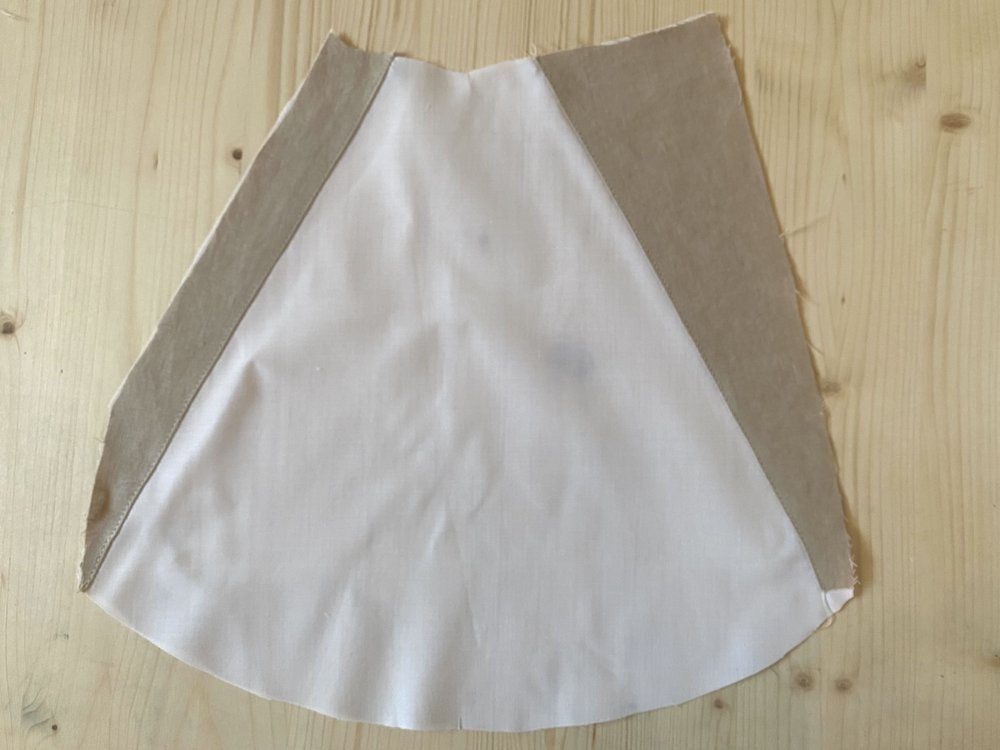
To construct the front pocket, first, attach the front pocket shield and the front pocket facing on the pocket bag: place the wrong sides of pocket shields and facings on top of the right side of the front pocket bag. Tuck under one edge of the pocket shield and the facing by ¼” / 0.6 cm to hide the raw edge. Edge stitch along the fold to secure.

Baste along the top and side of pocket bags to hold everything in place temporarily. Fold the pocket bag with the right sides together and press.
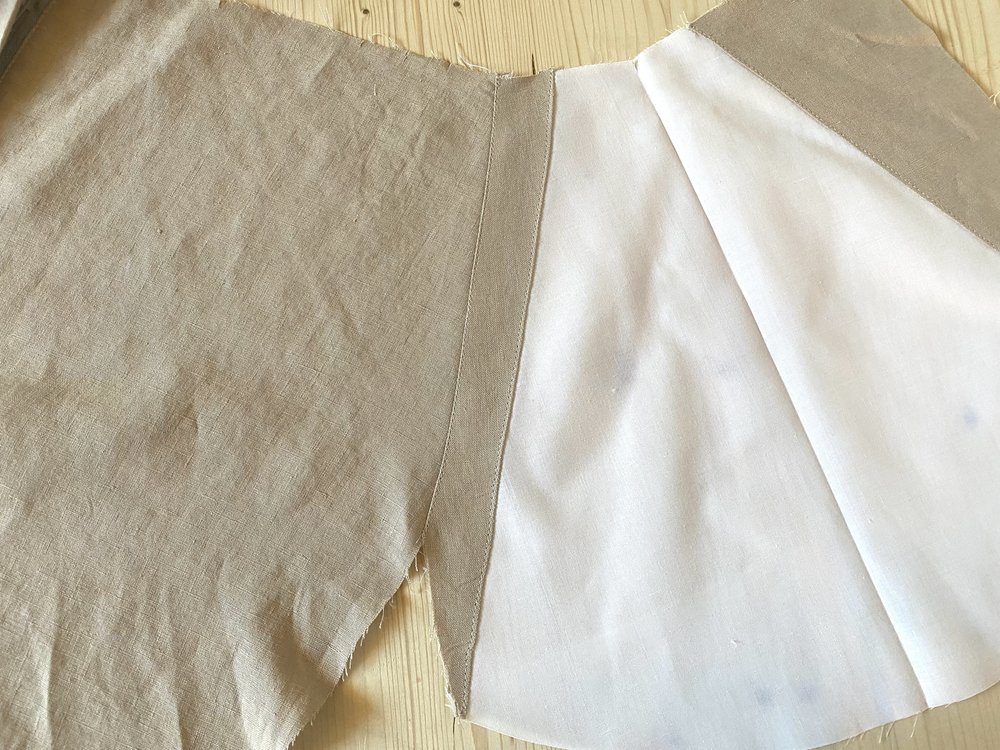
Stitch the front pocket facing to the front of the trousers, right sides together with a ⅜” / 1 cm seam allowance.
Fold the pocket facing over and under stitch the pocket facing, catching the seam allowances.
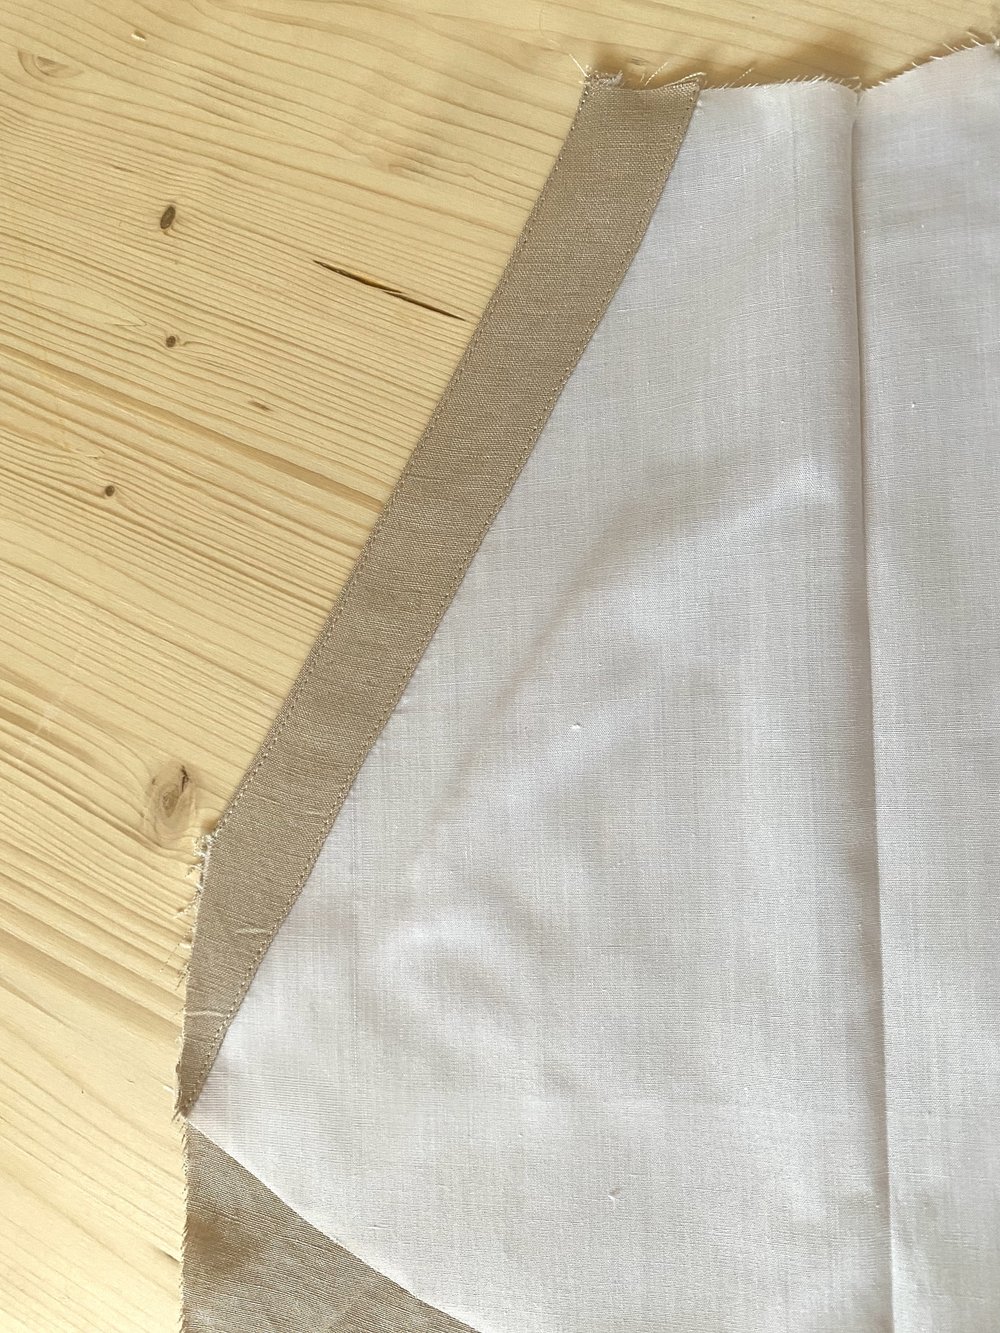
Press the opening with the pocket in place.
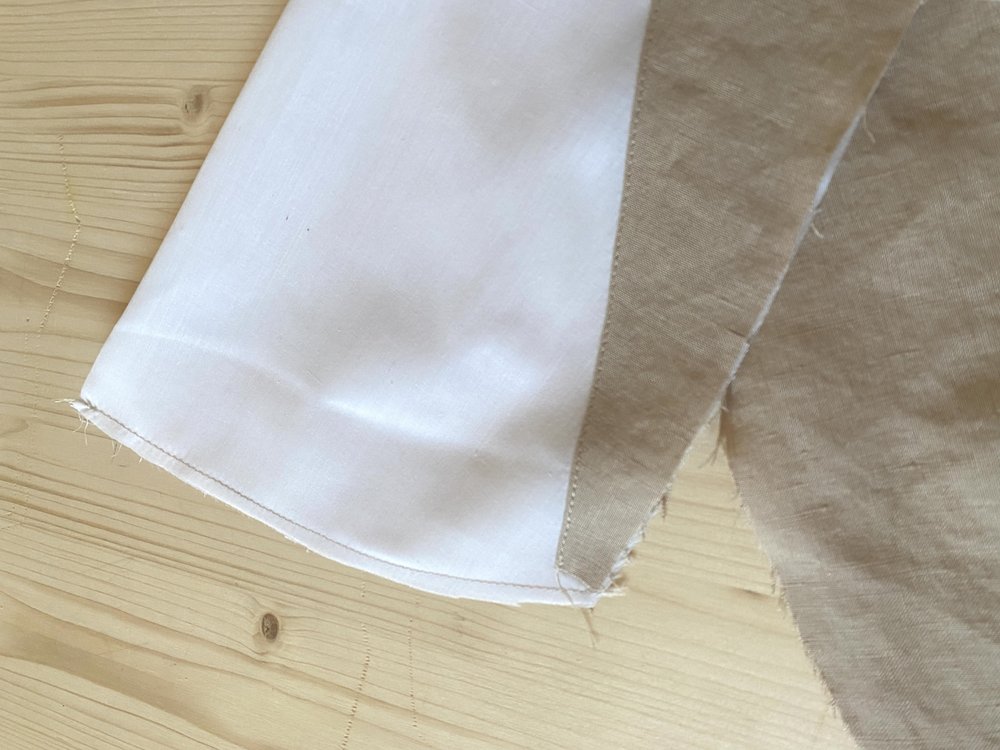
Fold the pocket bag with the wrong sides together, and stitch the curved bottom edge with a ¼” / 0.6 cm seam allowance. Trim.

Turn the wrong side out and stitch with a ¼” / 0.6 cm seam allowance.
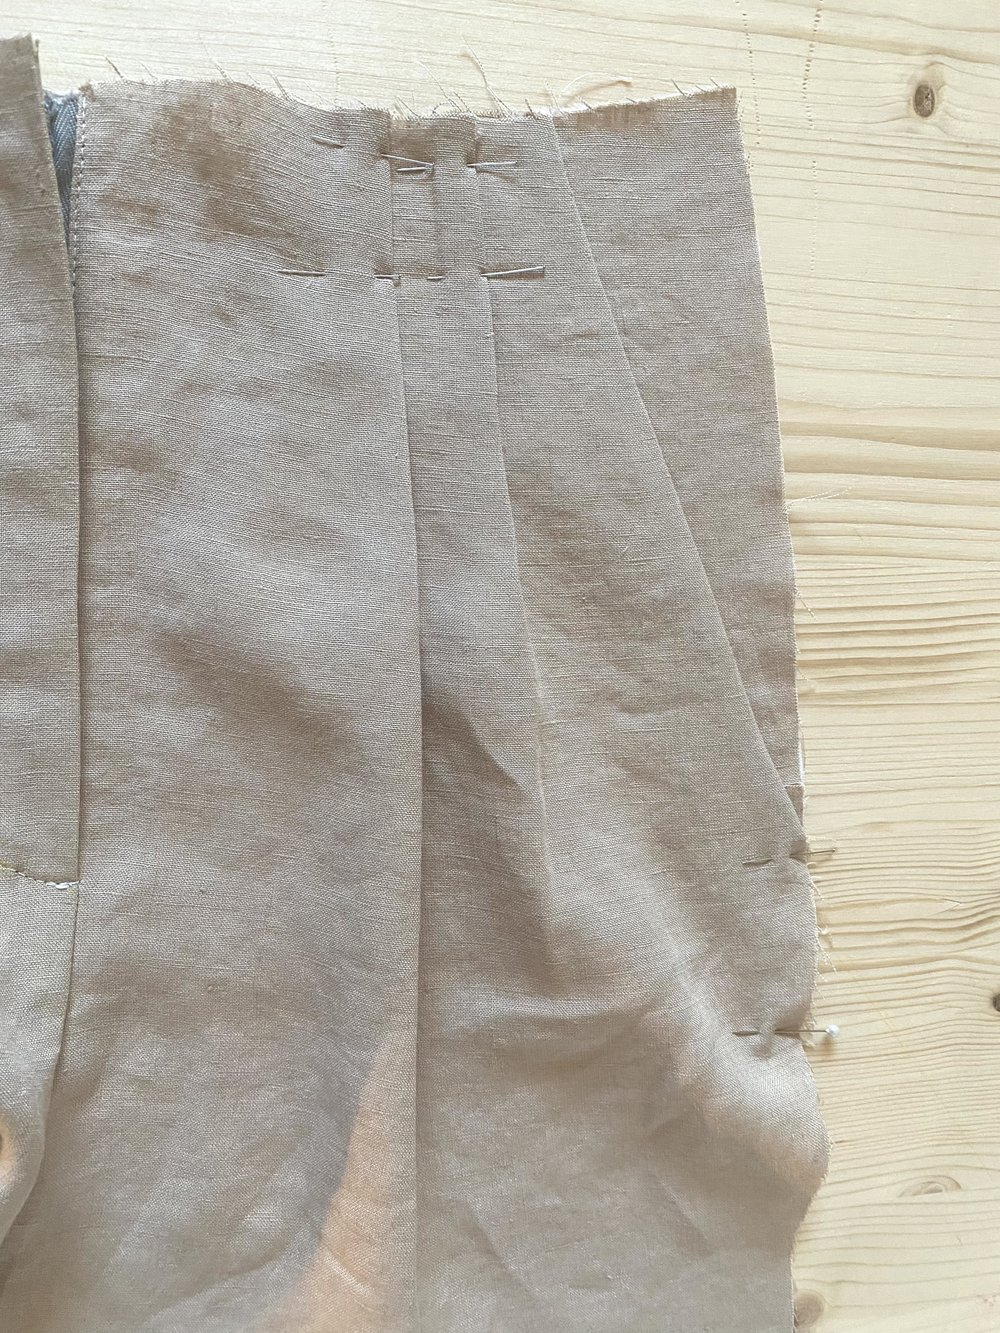
Baste the top and side of the pocket edges to the front legs.
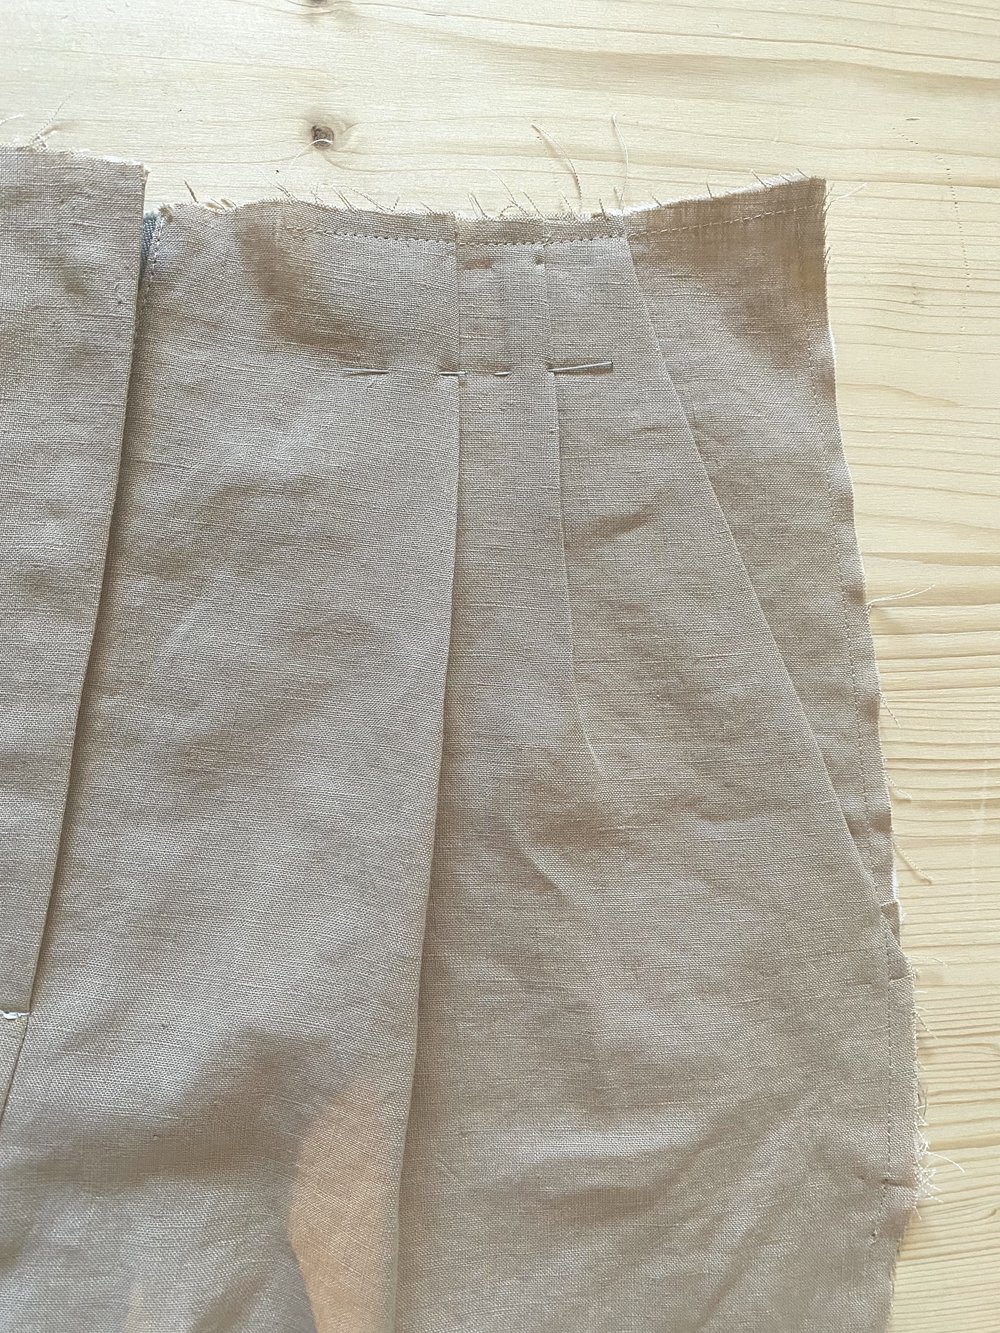
Give it a last press and admire your work before continuing and working on the back legs, starting with the darts and then the welt pockets.
I hope this was helpful. Let me know if you have questions or comments.
